For the Fun of It - Easy DIY Die Cut Stickers
make your own stickers with a printer and some scissors
I think stickers are having a moment right now. I mean, it's always time for stickers. When I was a kid, I sorted all my stickers in a little book. Any time I would get a new one, I’d carefully stick it down. I still have it somewhere.
Lately, stickers have been taking over craft fairs and conventions. There are plenty of places online where you can order die cut stickers for a pretty affordable price. But, if you're anything like me, the idea of printing a lot of one type of sticker, without knowing if they'll sell or do well, is really scary! So I went hunting online for the easiest way to make stickers, and found this way!
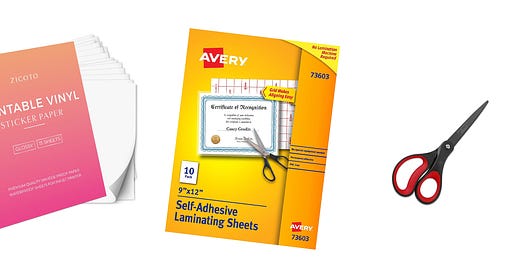
You don't need a fancy Cricut or other cutting machine. All you need is your design, a printer, some sticker paper, lamination sheets and some scissors. With that, you can make waterproof stickers that are professional and sturdy af.
On Design
Because you'll be hand-cutting these, your design needs a few considerations. I think this method works best with 2inch or bigger stickers, and without too many pointy-out-bits.
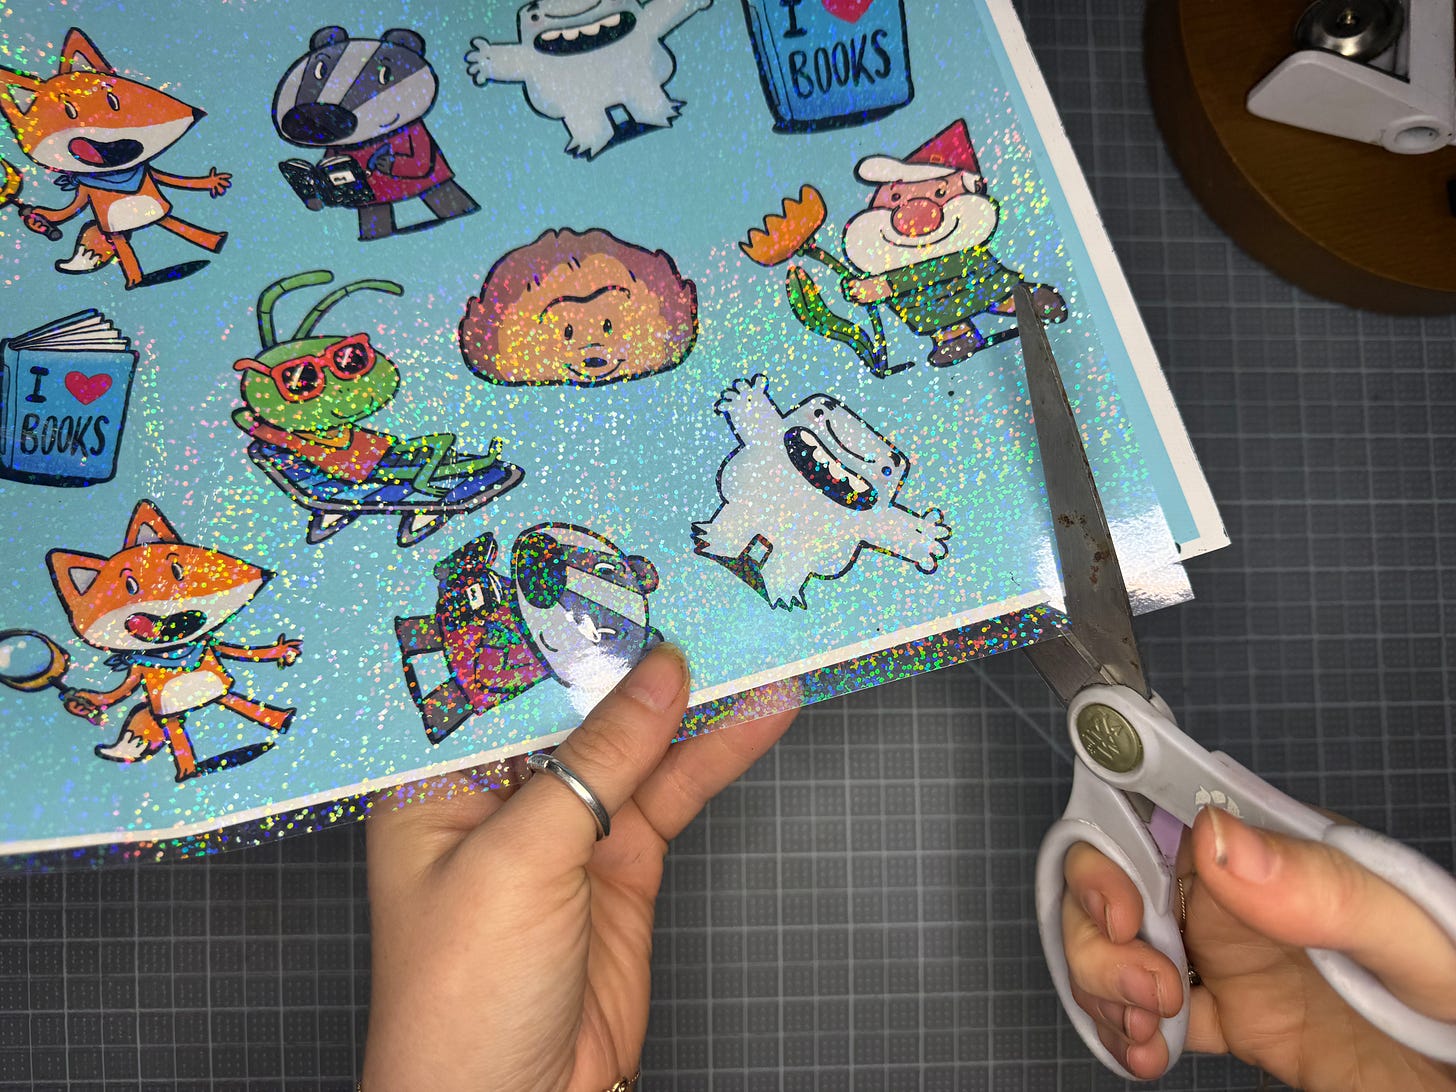
Here are two examples- these book stickers I made are pretty varied but they still have some nice space around them! I would also suggest making the background a solid color, and don't put in cut lines. You want a lot of space around the stickers to work with. I also duplicated and fit my design to fill the page as much as possible.
On Printing
Now you need to print! I think you could also print these at a print shop that offers sticker paper. I use a fancy Epson 8550 (recommended by a friend), but you could use any printer that might work well to print photos. Because we'll be laminating these, you don't need to print on glossy vinyl or anything like that, but the vinyl does hold up well. I’ll have some recommendations at the end.
Print your design on whatever print settings your printer has for photos!
Laminating
This is the key to making your stickers look really good, and last long. It's also the most annoying/fiddly part of this process, but I promise it's easier than it looks. I maybe get an air bubble or a wrinkle, and once you do it a few times, you’ll be a pro!
Laminating one side of your sticker paper means that your stickers are waterproof, AND they can be SPAAARKLY!!! This is truly the most exciting part. There are tons of low-cost laminating options online.
Basically, with laminating sheets, you're sticking down the clear plastic laminating sheet on the printed design. Start on one end and unroll slowly, pressing down as you go. You might get some bubbles, some lines.
Often, the bubbles for me disappear after a few days. You can also press them out with a credit card. Here’s a rough and tumble version to show you. After doing a few, I get less and less bubbles, I swear.
But whyyy do I have to do this.
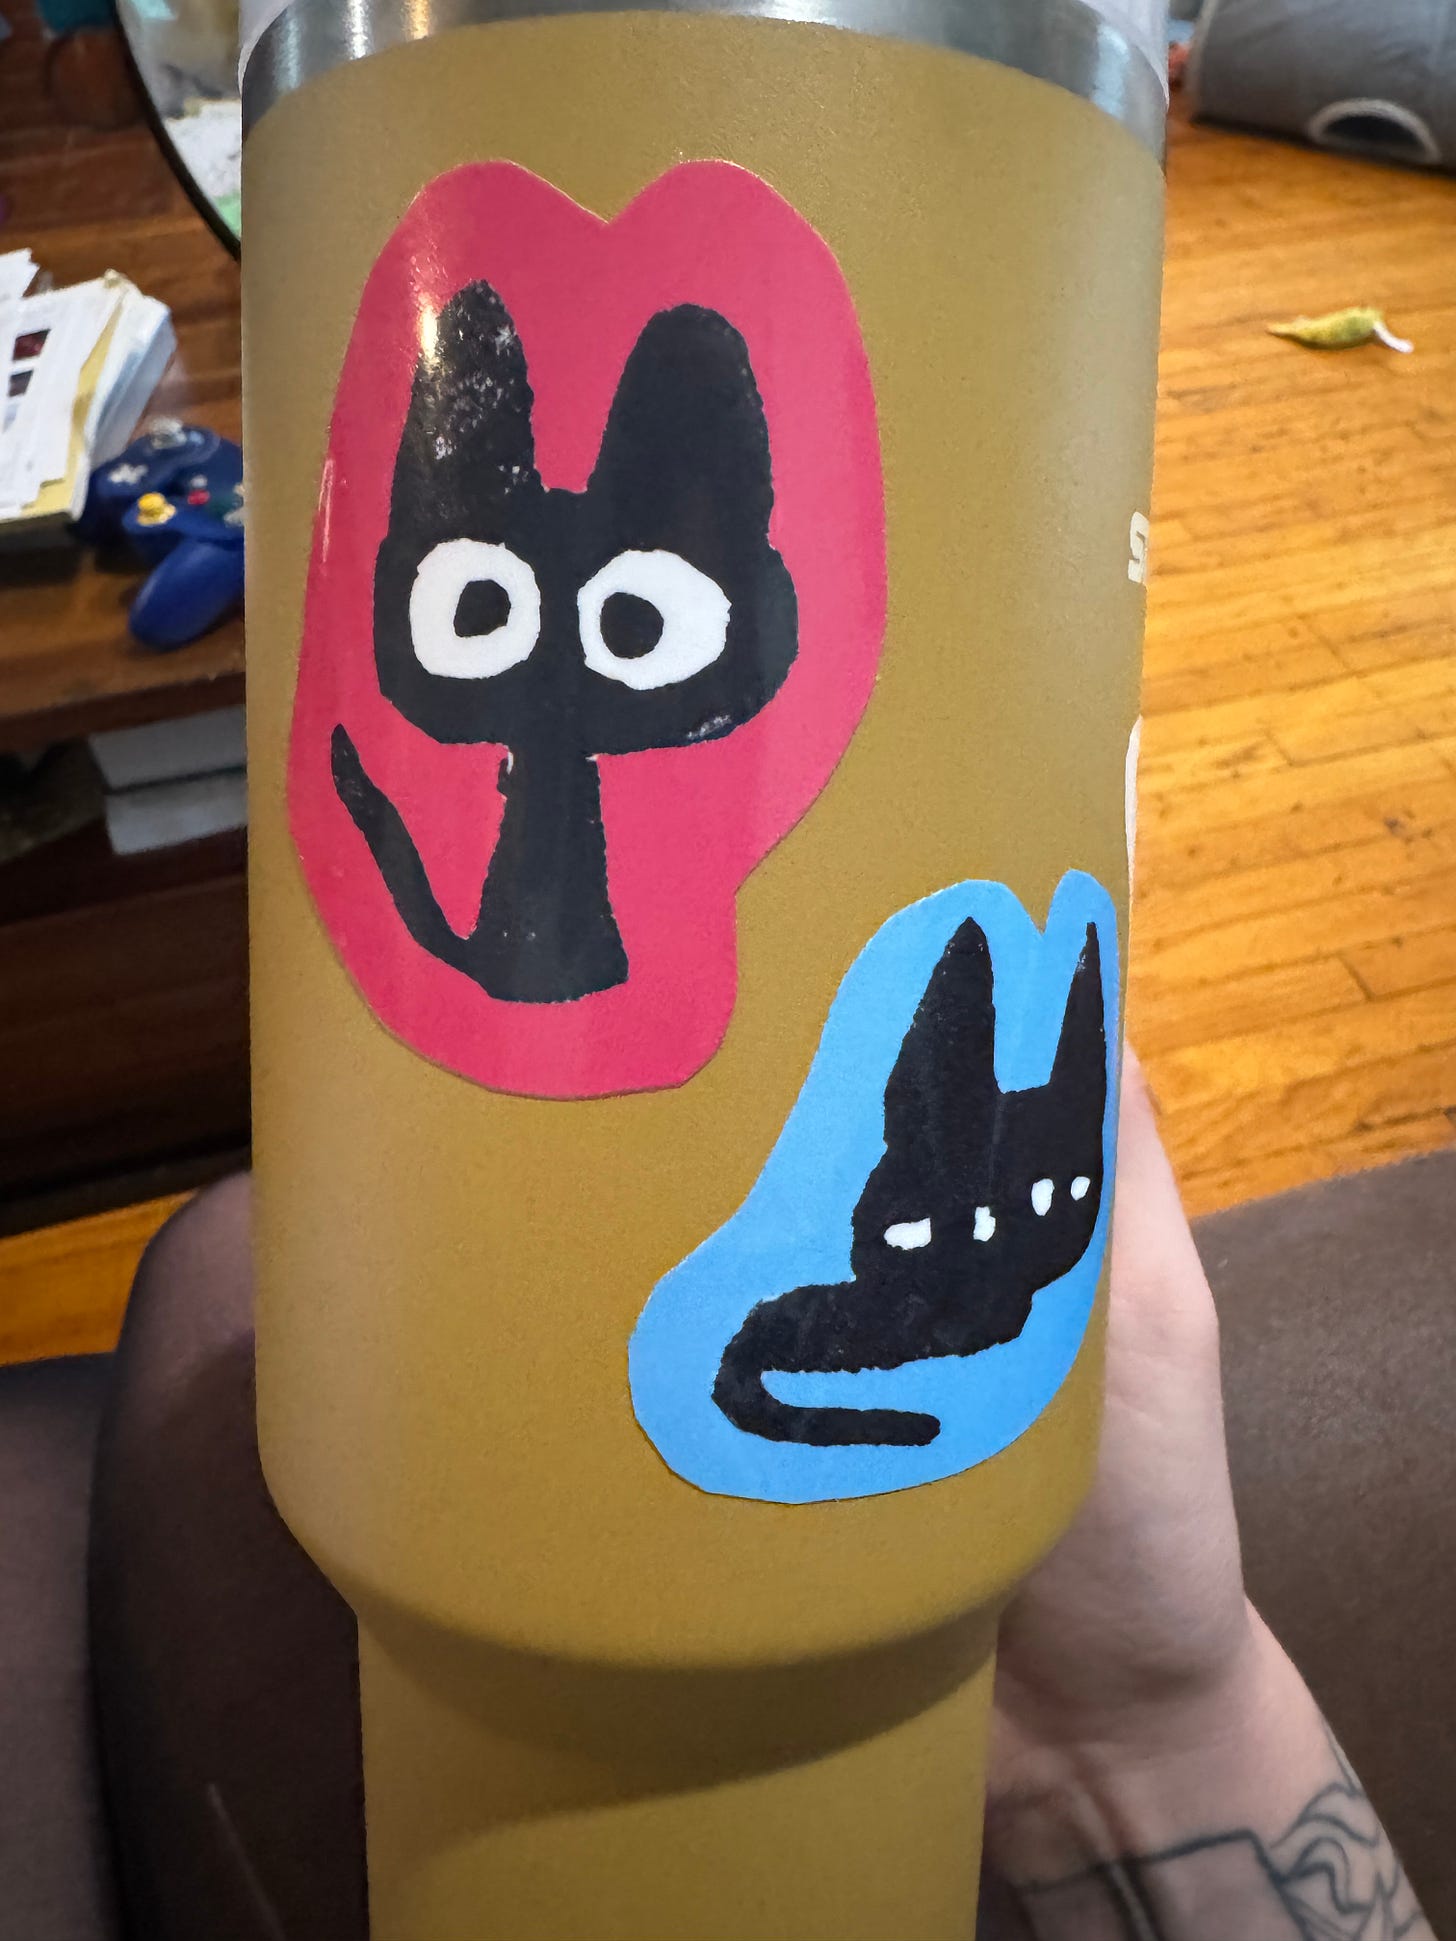
Okay, so hear me out- I WASHED this water bottle, with these stickers on, and they still look like this!! Laminating is what makes your stickers professional. Big, well-designed stickers are 2-3$ booth items, and you want them to last! That's why I fill my printed sticker sheets with as many iterations of the design as possible, and don't worry too much if some of the lamination goes wrong. Even if the vinyl sticker paper says “waterproof”, that doesn’t include the ink you print on it, and it will run. And you will be sad!!!!!!
Cutting
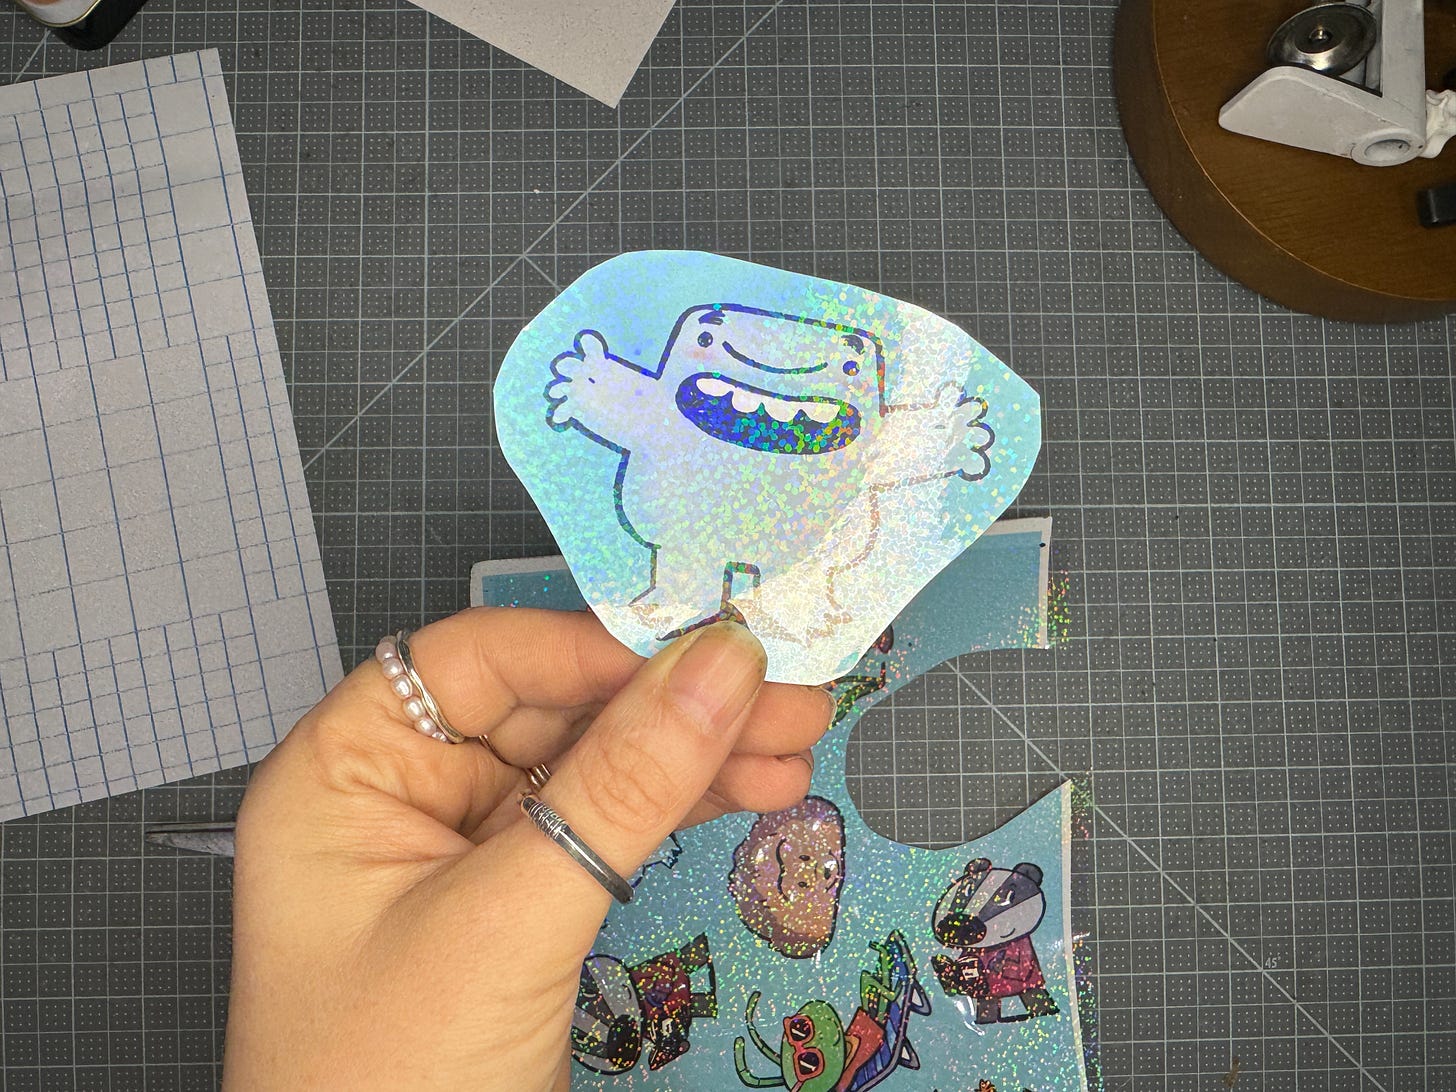
This might seem like a no-brainer, but I really thought for a long time I would need to buy a special machine. But cutting out stickers is meditative, goes fast, and is truly worth it for my shop process. If you're not shipping 100+ stickers often, why not just print and cut as you go? Even cutting out a couple dozen stickers for a book launch is easy. If cutting out the die cuts is too annoying, try designing square stickers you could cut with a guillotine.
That's why I said to keep the background a solid color, with no cut lines- you can freely cut each sticker without needing to be too precise.
All in all, if you've got a printer you use to make prints, you can start making stickers for ~$20!
Here are some of my recommendations for paper and laminating sheets:
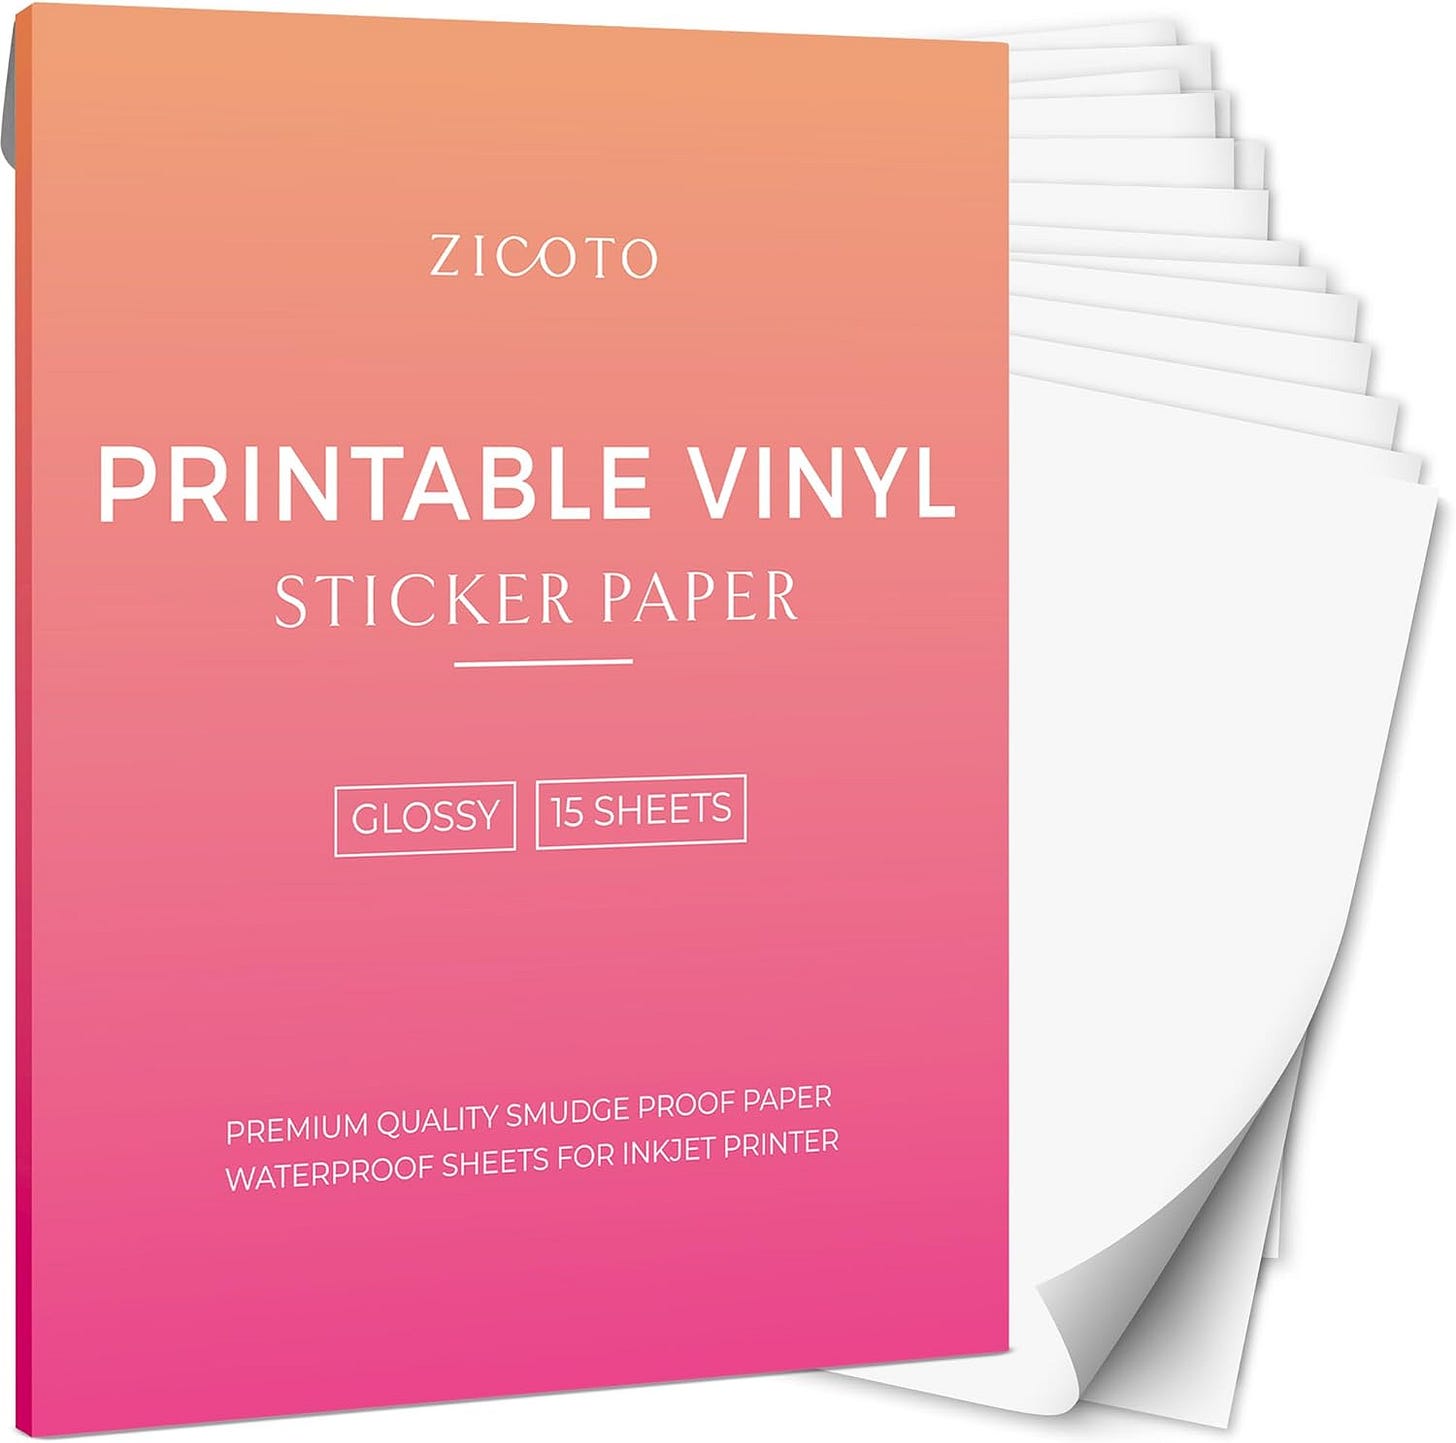
Zicoto Glossy Vinyl Sticker Paper (10$ for 15 sheets): Amazon has a lot of sticker paper options, but this one is a little heavy weight, and nice! One tip- store your sticker paper UNDER your other paper so it stays flat, otherwise it’ll start to curve and make your printer upset when you try to print with it.
Avery Laminating Sheets (9$ for 10 sheets): Avery’s laminated sheets are definitely worth the extra price compared to the off brand. They’re easier to lay out, get less wrinkles and bubbles, and are sturdy and thick.
Speaking of off brand, I can’t specifically recommend a best holographic sheet, but I did get these from Cosrk and they’ve been fine (10$ for 36 sheets). A little thinner and wrinkly, but they SPARKLE.
I would recommend a $2-3 price point for your stickers if you're selling them! The best part about making your own is that since the cost-per is lower than if you have them printed, it feels a bit easier to give them away as prizes at book events! With the links above, you’re looking at like a quarter a sticker (and of COURSE your time!!).
I really should change this to link of the week. This is separate from thing of the week, but similar... not quite the same. Anyway!! I mentioned a while ago that I had taken a few Domestika courses, I wanted to share some that I liked!
Natalie Andrewson has a new one on Fantasy Illustration- the riso queen!
My friend Susan Yung is a BG genius and she's so good at explaining things!! Her course on BG painting for animation made me excited to try painting backgrounds again.
This watercolor course by Laura McKendry was really thorough, playful, creative, and had lot of fun exercises. If you’re afraid of painting traditionally, this is a great place to start.
LA keeps ping-ponging between hot and cold, but anyway, I've been experimenting with fun different ways to have cold brew. The cafe around the corner from me does something called a "Goldblum", a cold brew with orange and lemon peels, shaken with agave. It seems like the cold-brew-cocktail-adjacent drink is having a moment. I don't drink much but I always liked all the little bottles of syrups and things.
There are tons of combos that are exciting- this earl grey syrup I got with a titch of bitters, tonic water, and cold brew concentrate makes a sparkly, citrusy vibe.
I also really like a pomegranate, cold brew, tonic water, and bitters as a robust fruity drink. It's been fun to try different things, and I get to feel like I'm having a fancy cocktail without the alcohol part.
ok love u bye






Great tutorial! Though I feel more comfortable with scissors, an exacto knife might be good for the cutting.
Great tips, thanks for sharing 💕