


For the Fun of It - etching with the Open Press Project
a postcard-size press that packs a punch!

I hope you’re all having a nice November so far. I’ve been busy busy busy, but have been enjoying the cooler weather here in LA. I’ve got a crafternoon next weekend, and some projects I’m eying for the future, and settling into the planning part of next year (my favorite!).
This week, I wanted to talk about my beloved Open Press Project press!

I’m obsessed with my Open Press Project presses!
I have 2(!!), a teensy tiny XS one which can print postage stamp etchings, and a new postcard-sized one that I just got from their Kickstarter! You can also just 3D print your own for free- they give away all their knowledge and info for free, so I love supporting them.
I got some copper to etch with, and I thought this would be a perfect project to make for my dear husband’s Sonic podcast rewards- they have a Ko-fi you can subscribe to, and we’ll send you something fun by mail!
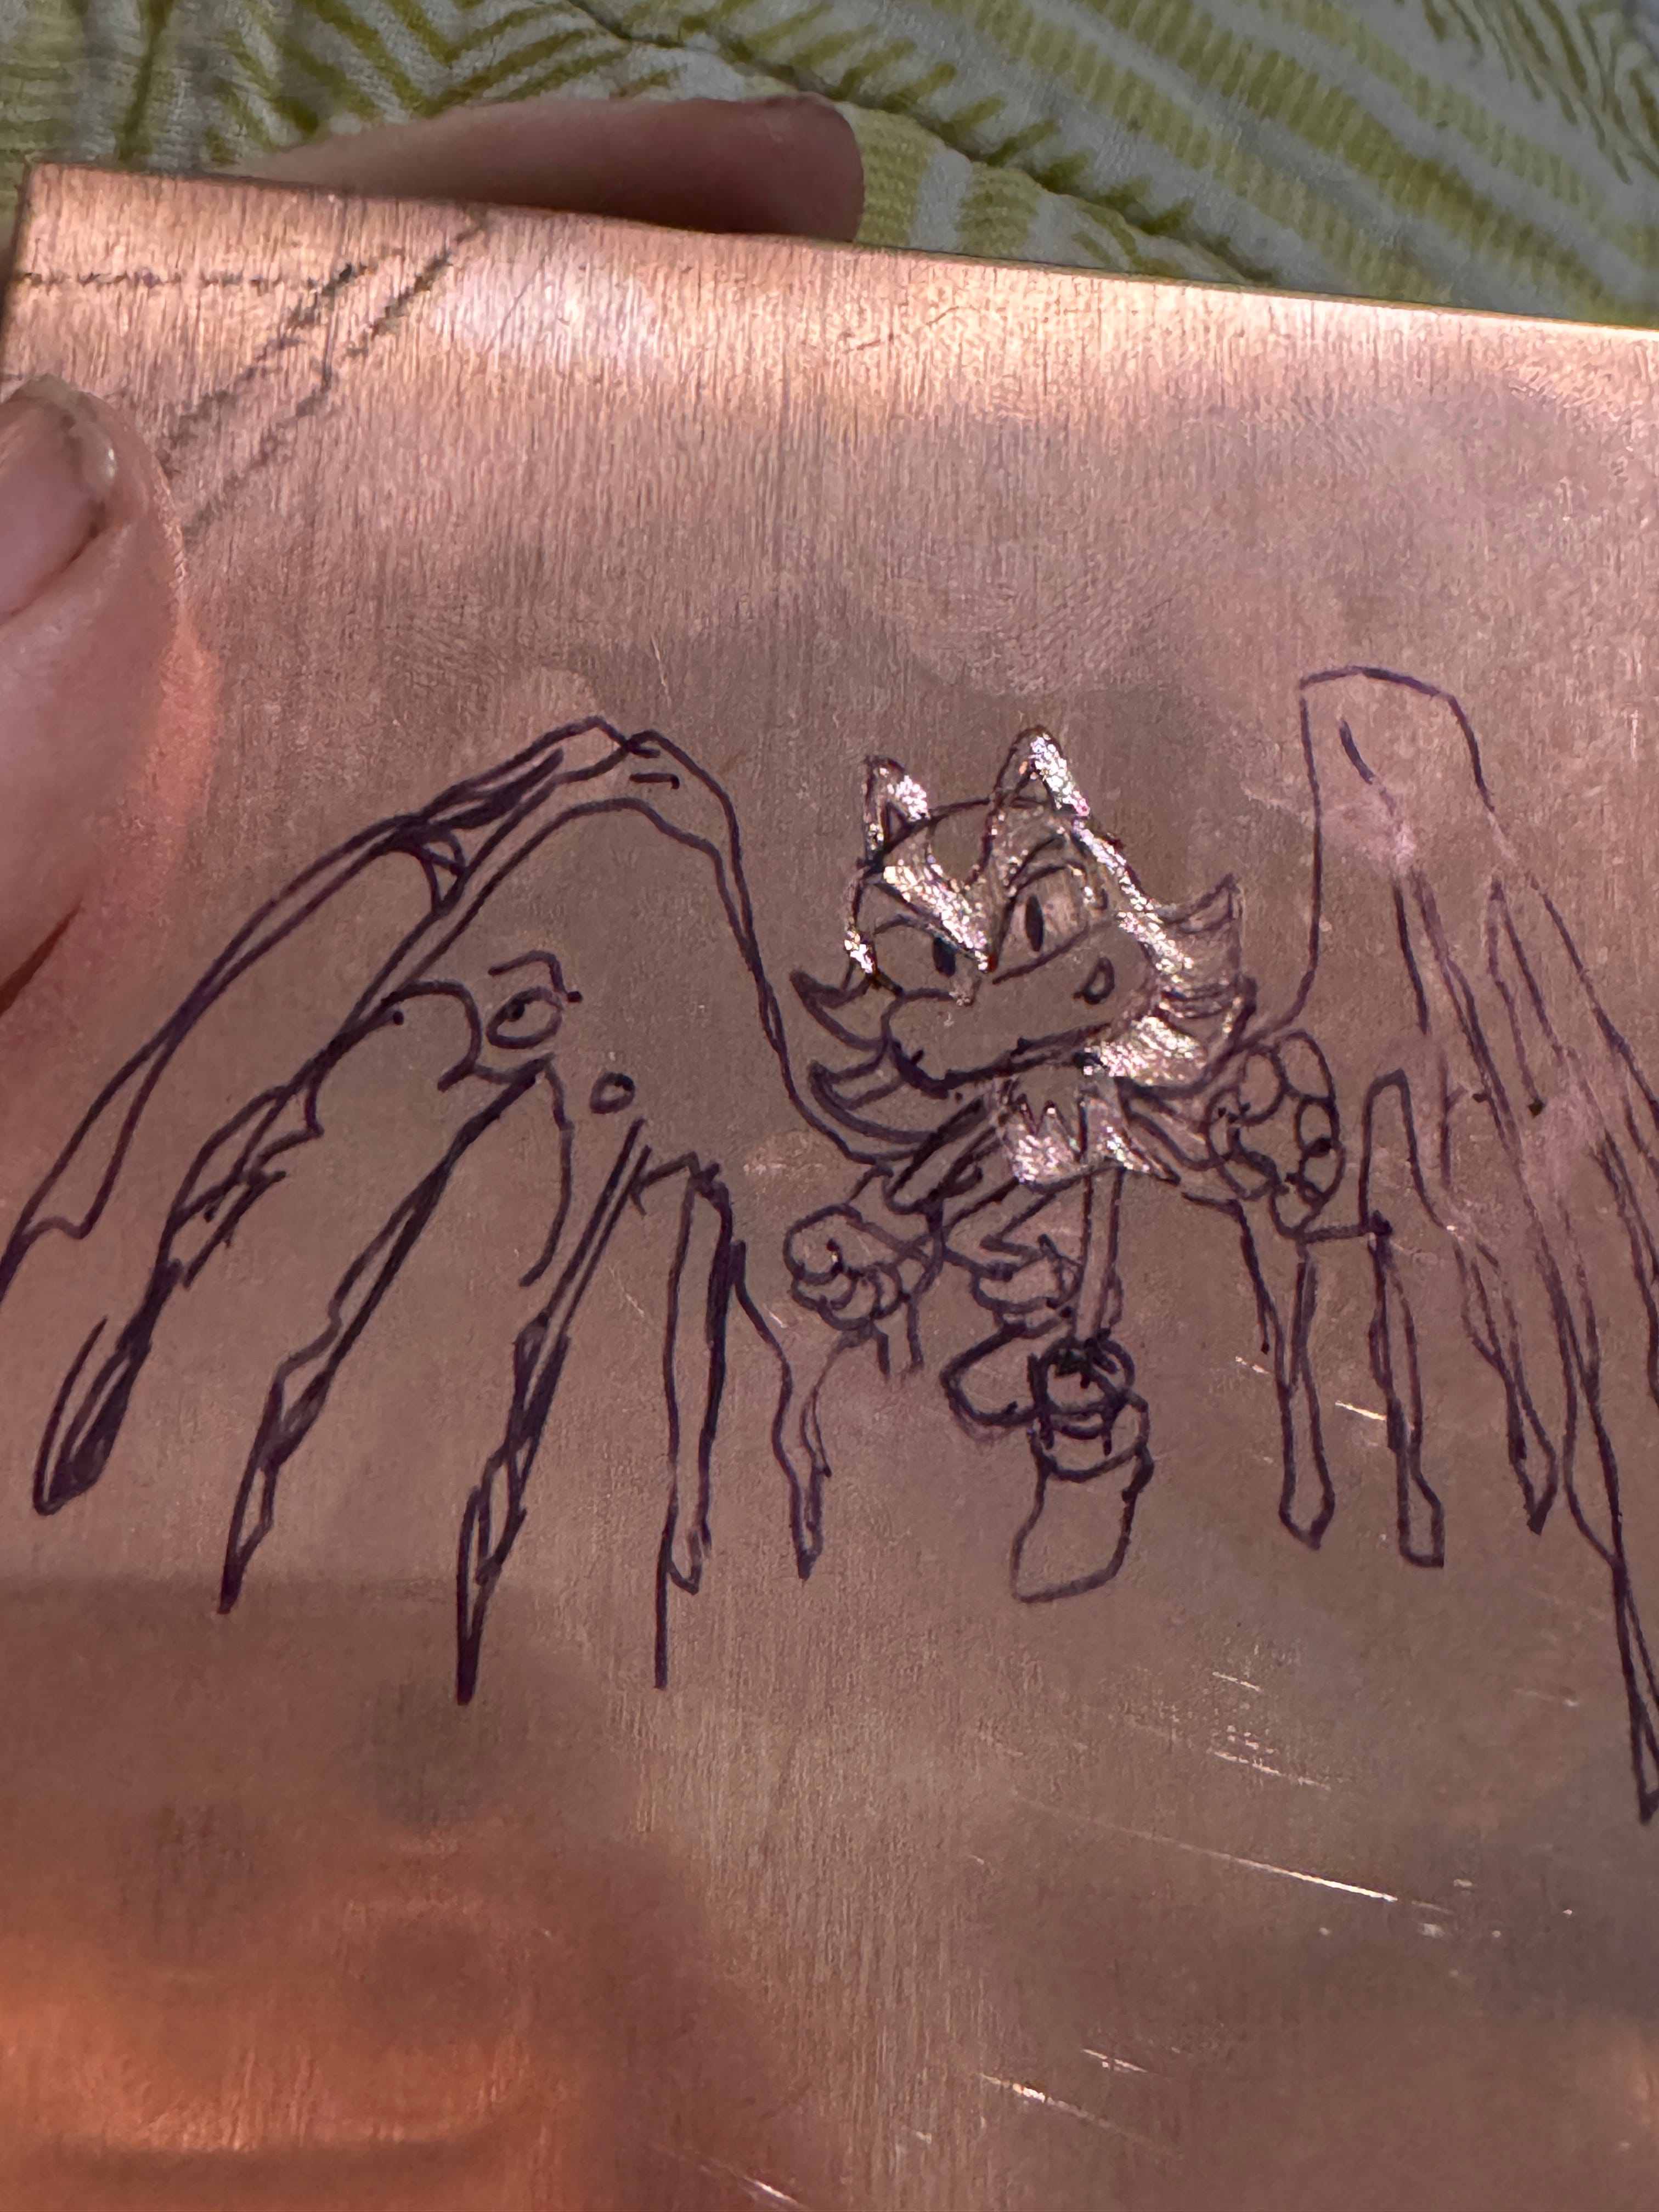
First- you have to mark up your copper to what you’re going to etch. I was hoping to be able to transfer with graphite, but it simply wouldn’t stick, so I eyeballed it with a marker. You might be able to transfer with an alcohol marker and a print out, but I haven’t tried that method.
I used a really nice double-ended etching tool I got from Jackson’s. Love switching between narrow and wider. This is “drypoint” etching, where you don’t use chemicals or anything like that.
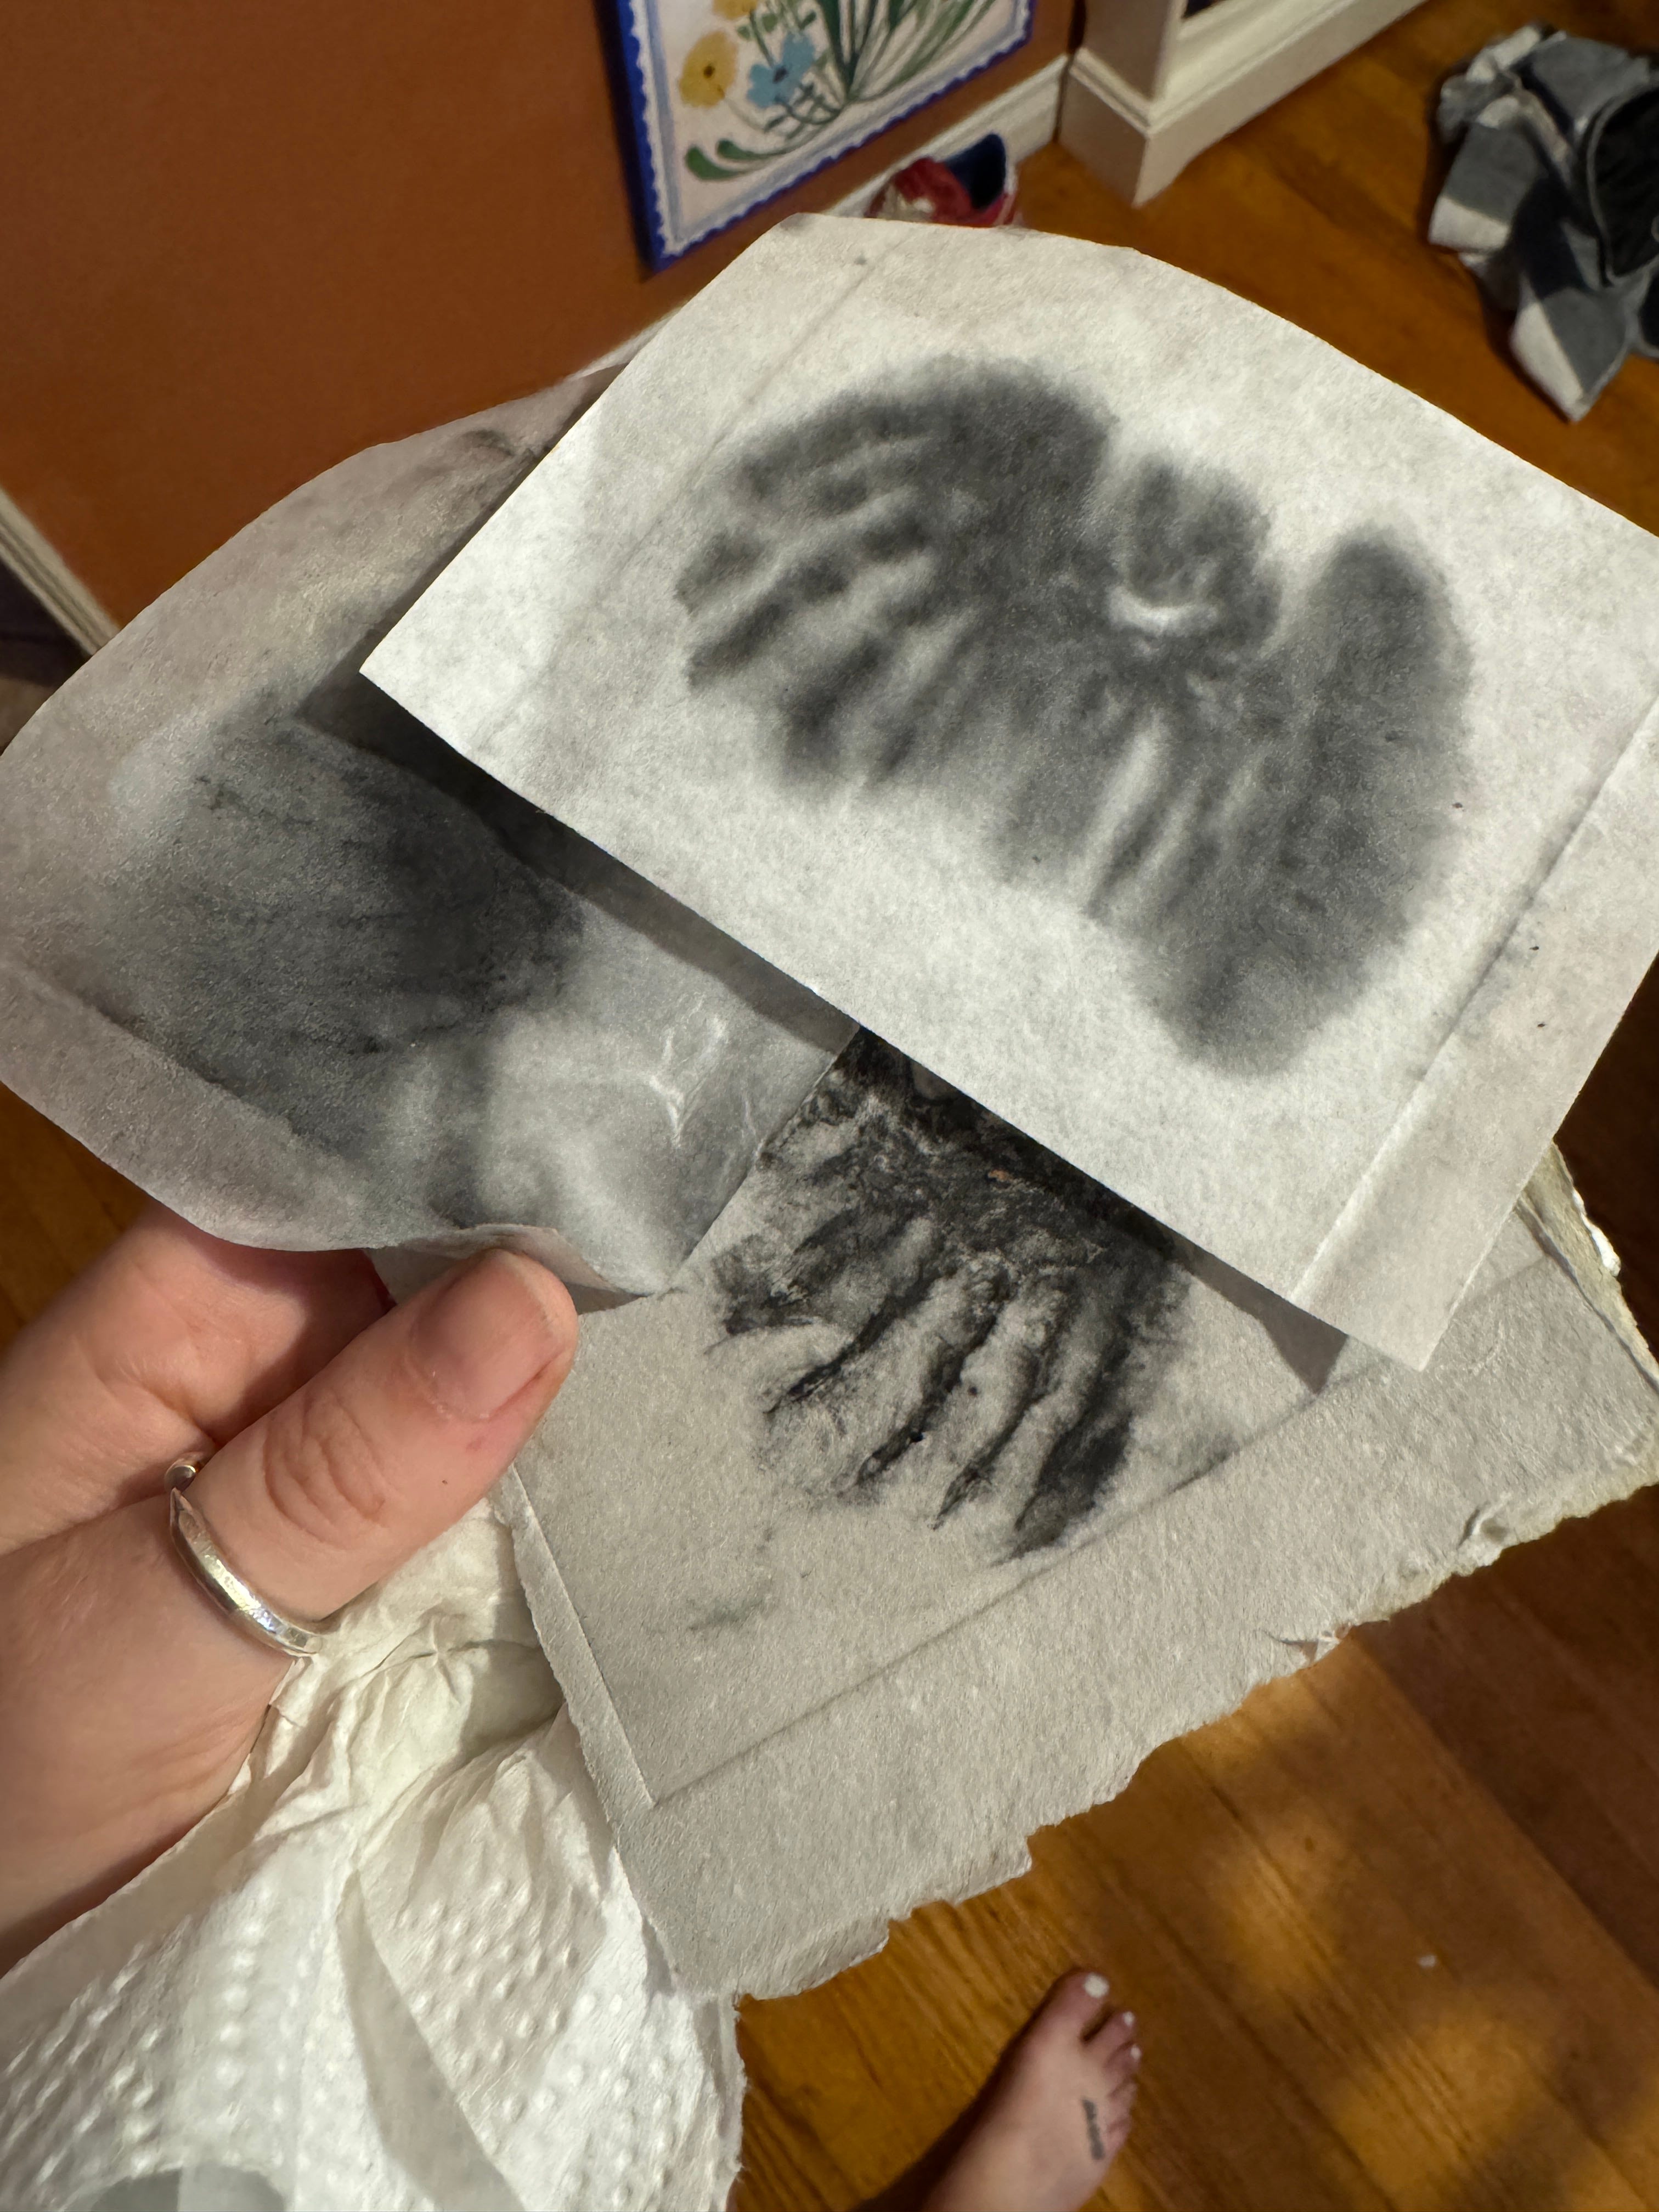
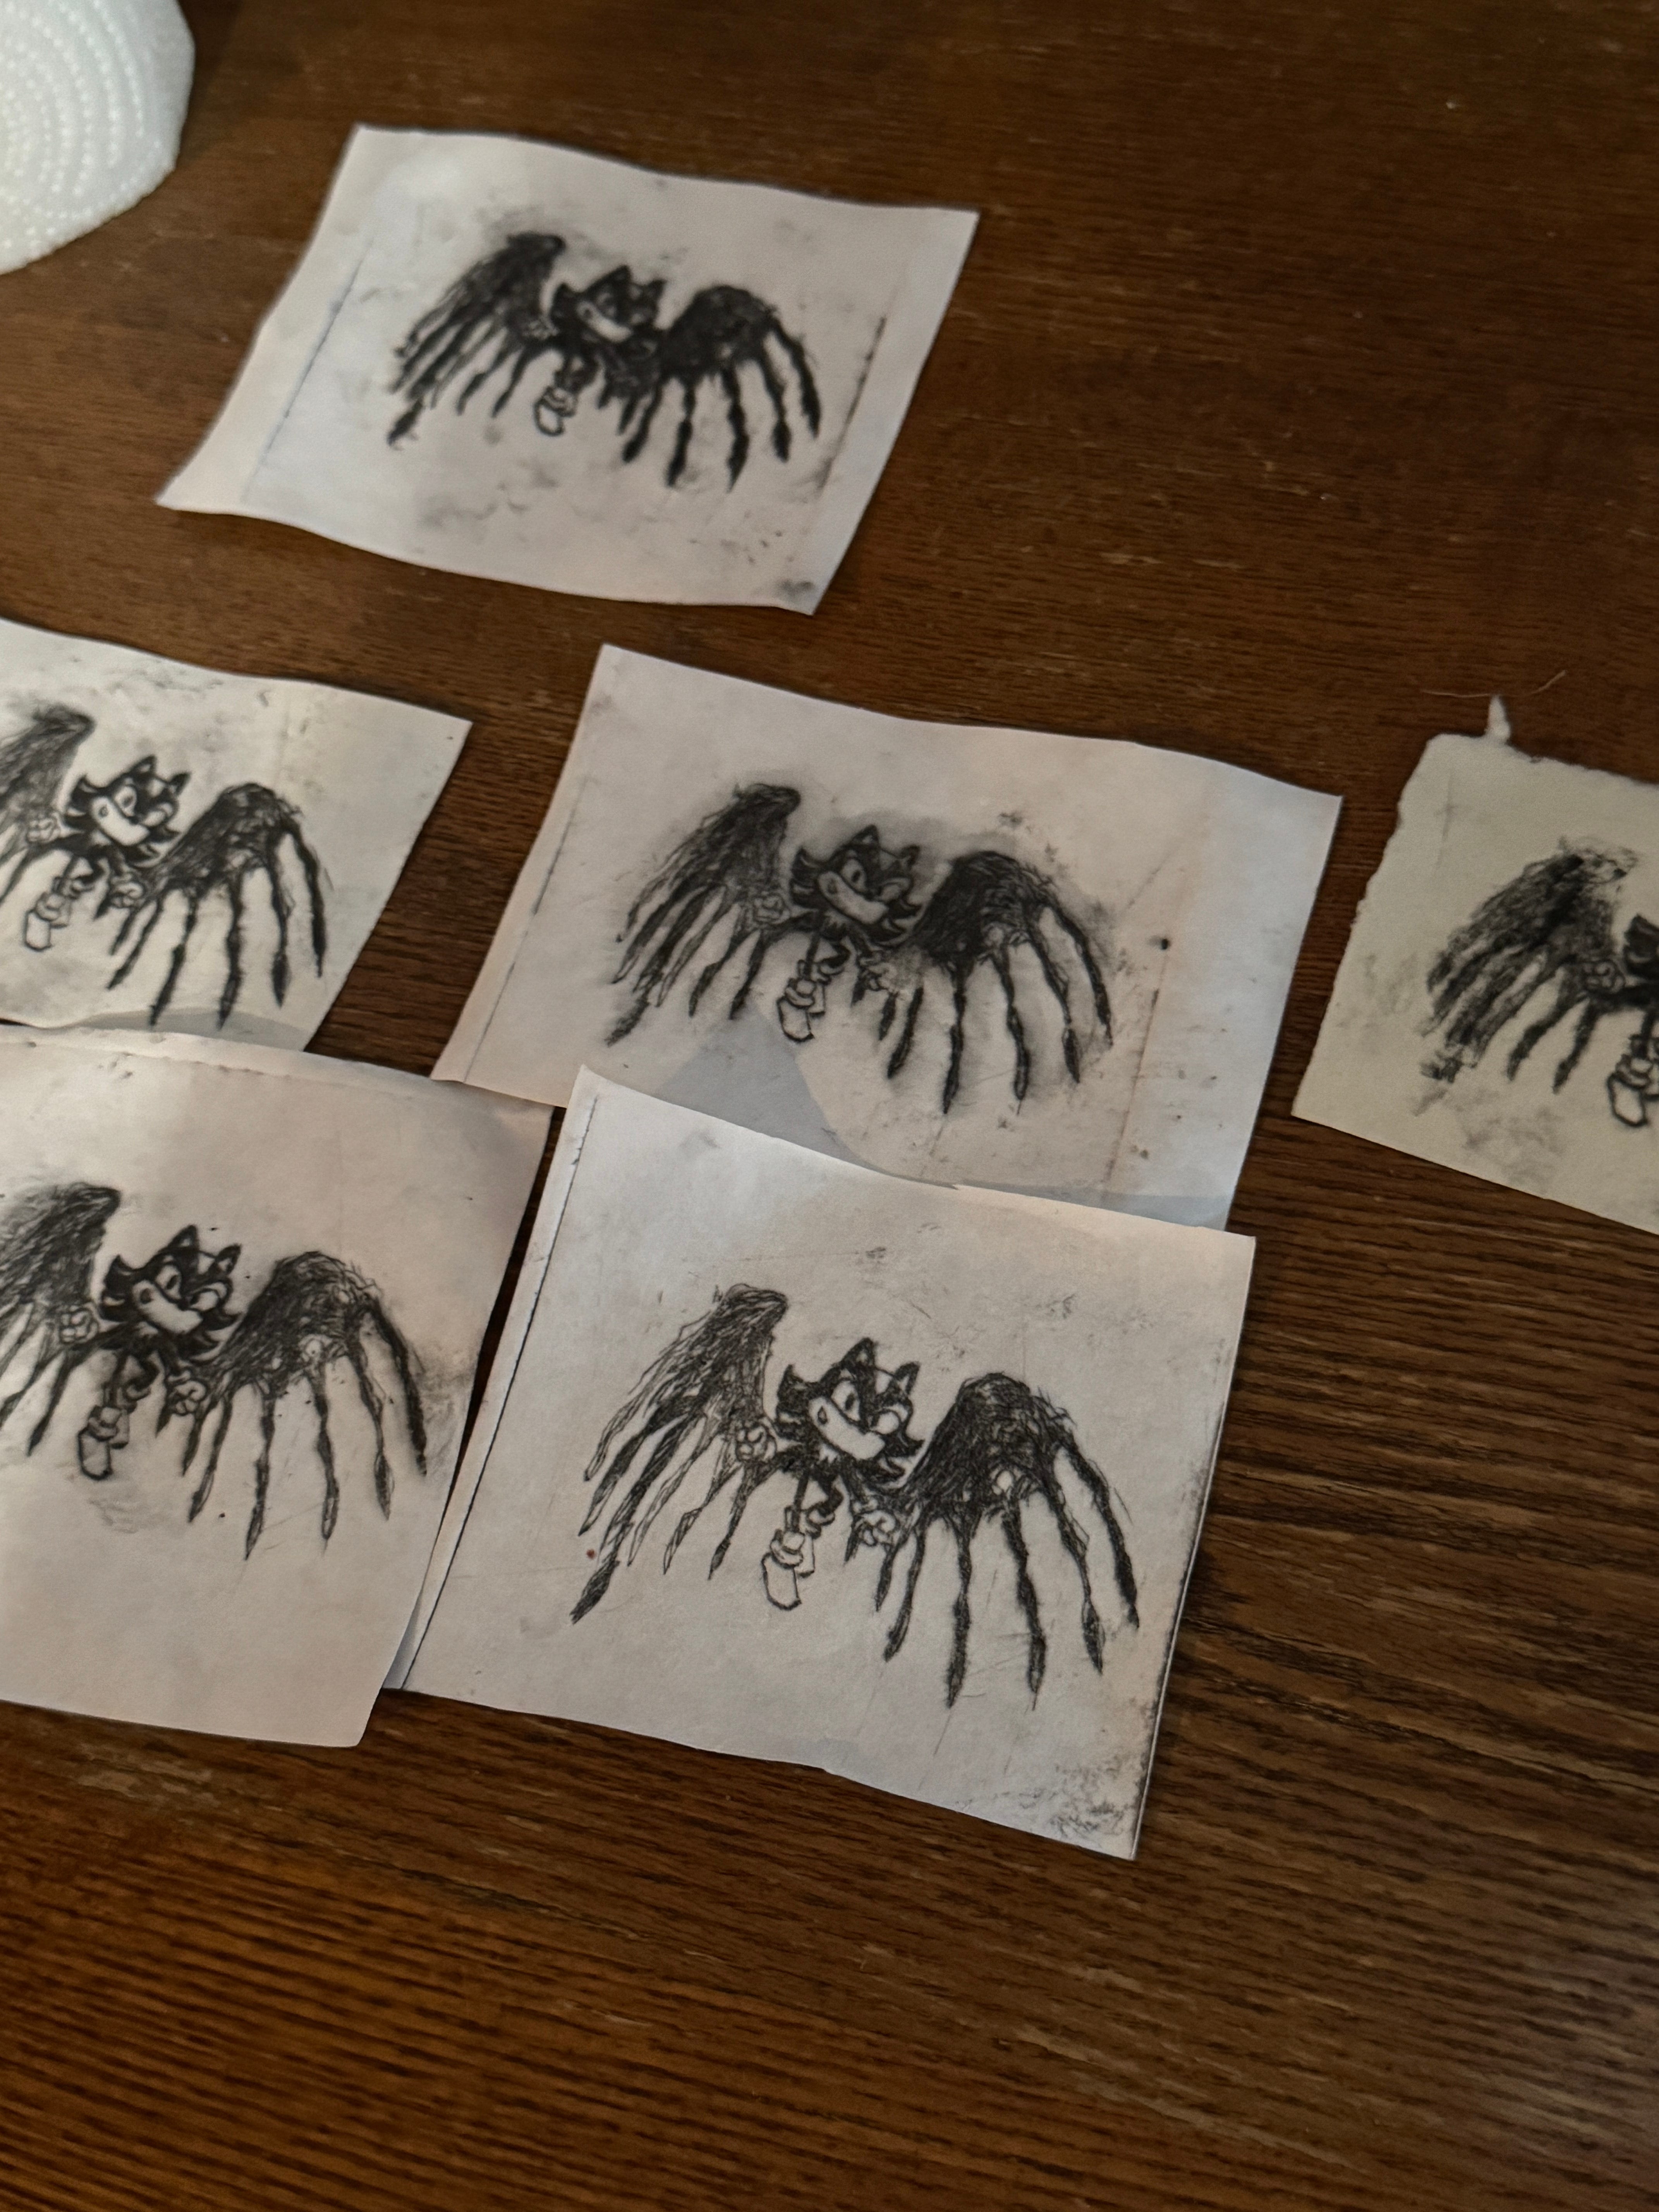
After you etch your whole image, you have to soak your printing paper in water, and ink up your plate. Now, here, I am not as good at explaining because it’s trial and error about your paper dampness. It’s gotta be a LITTLE damp to help draw out the ink, but not TOO damp or it’ll cloud up. Look at all my fails below.
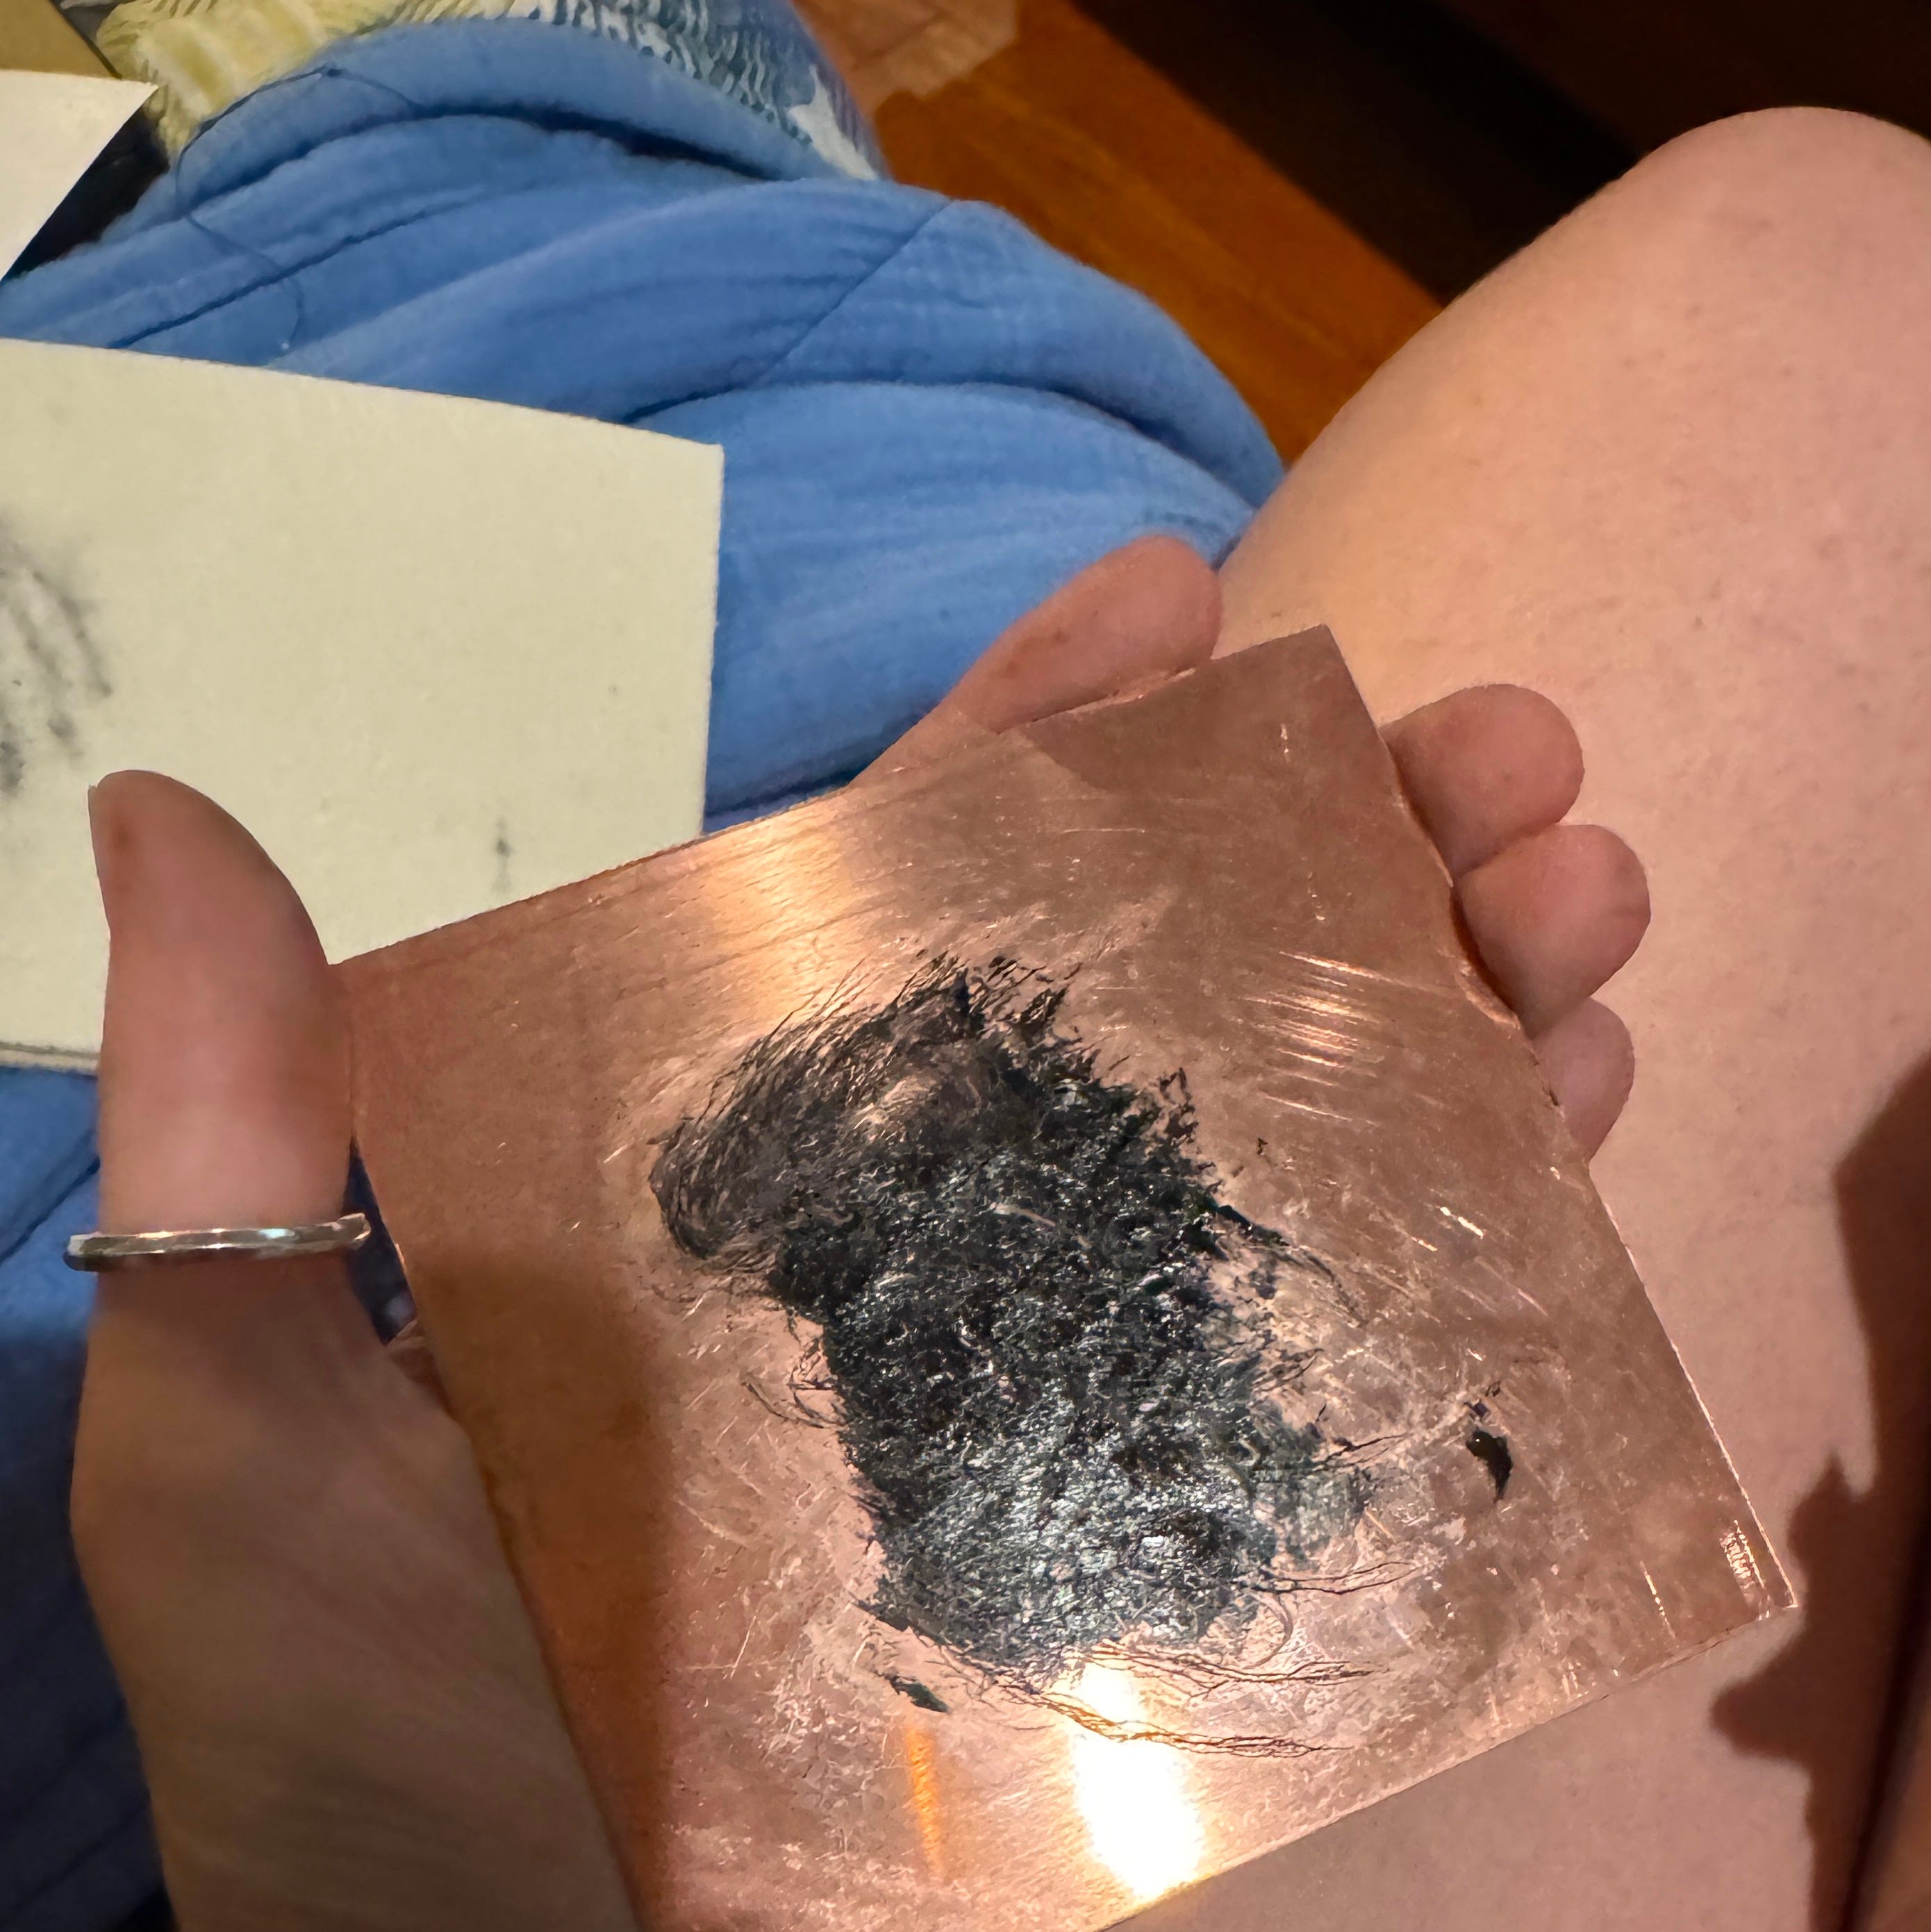
It’s a very messy process. I like this Cranfield “Caligo Safe Wash”, it’s oil based but you can use plain water to scrub it off (which is great because I’ve gotten it all over my legs as seen below. You load up your plate with the ink by scrubbing it in. Jackson’s has a nice overview of the process.
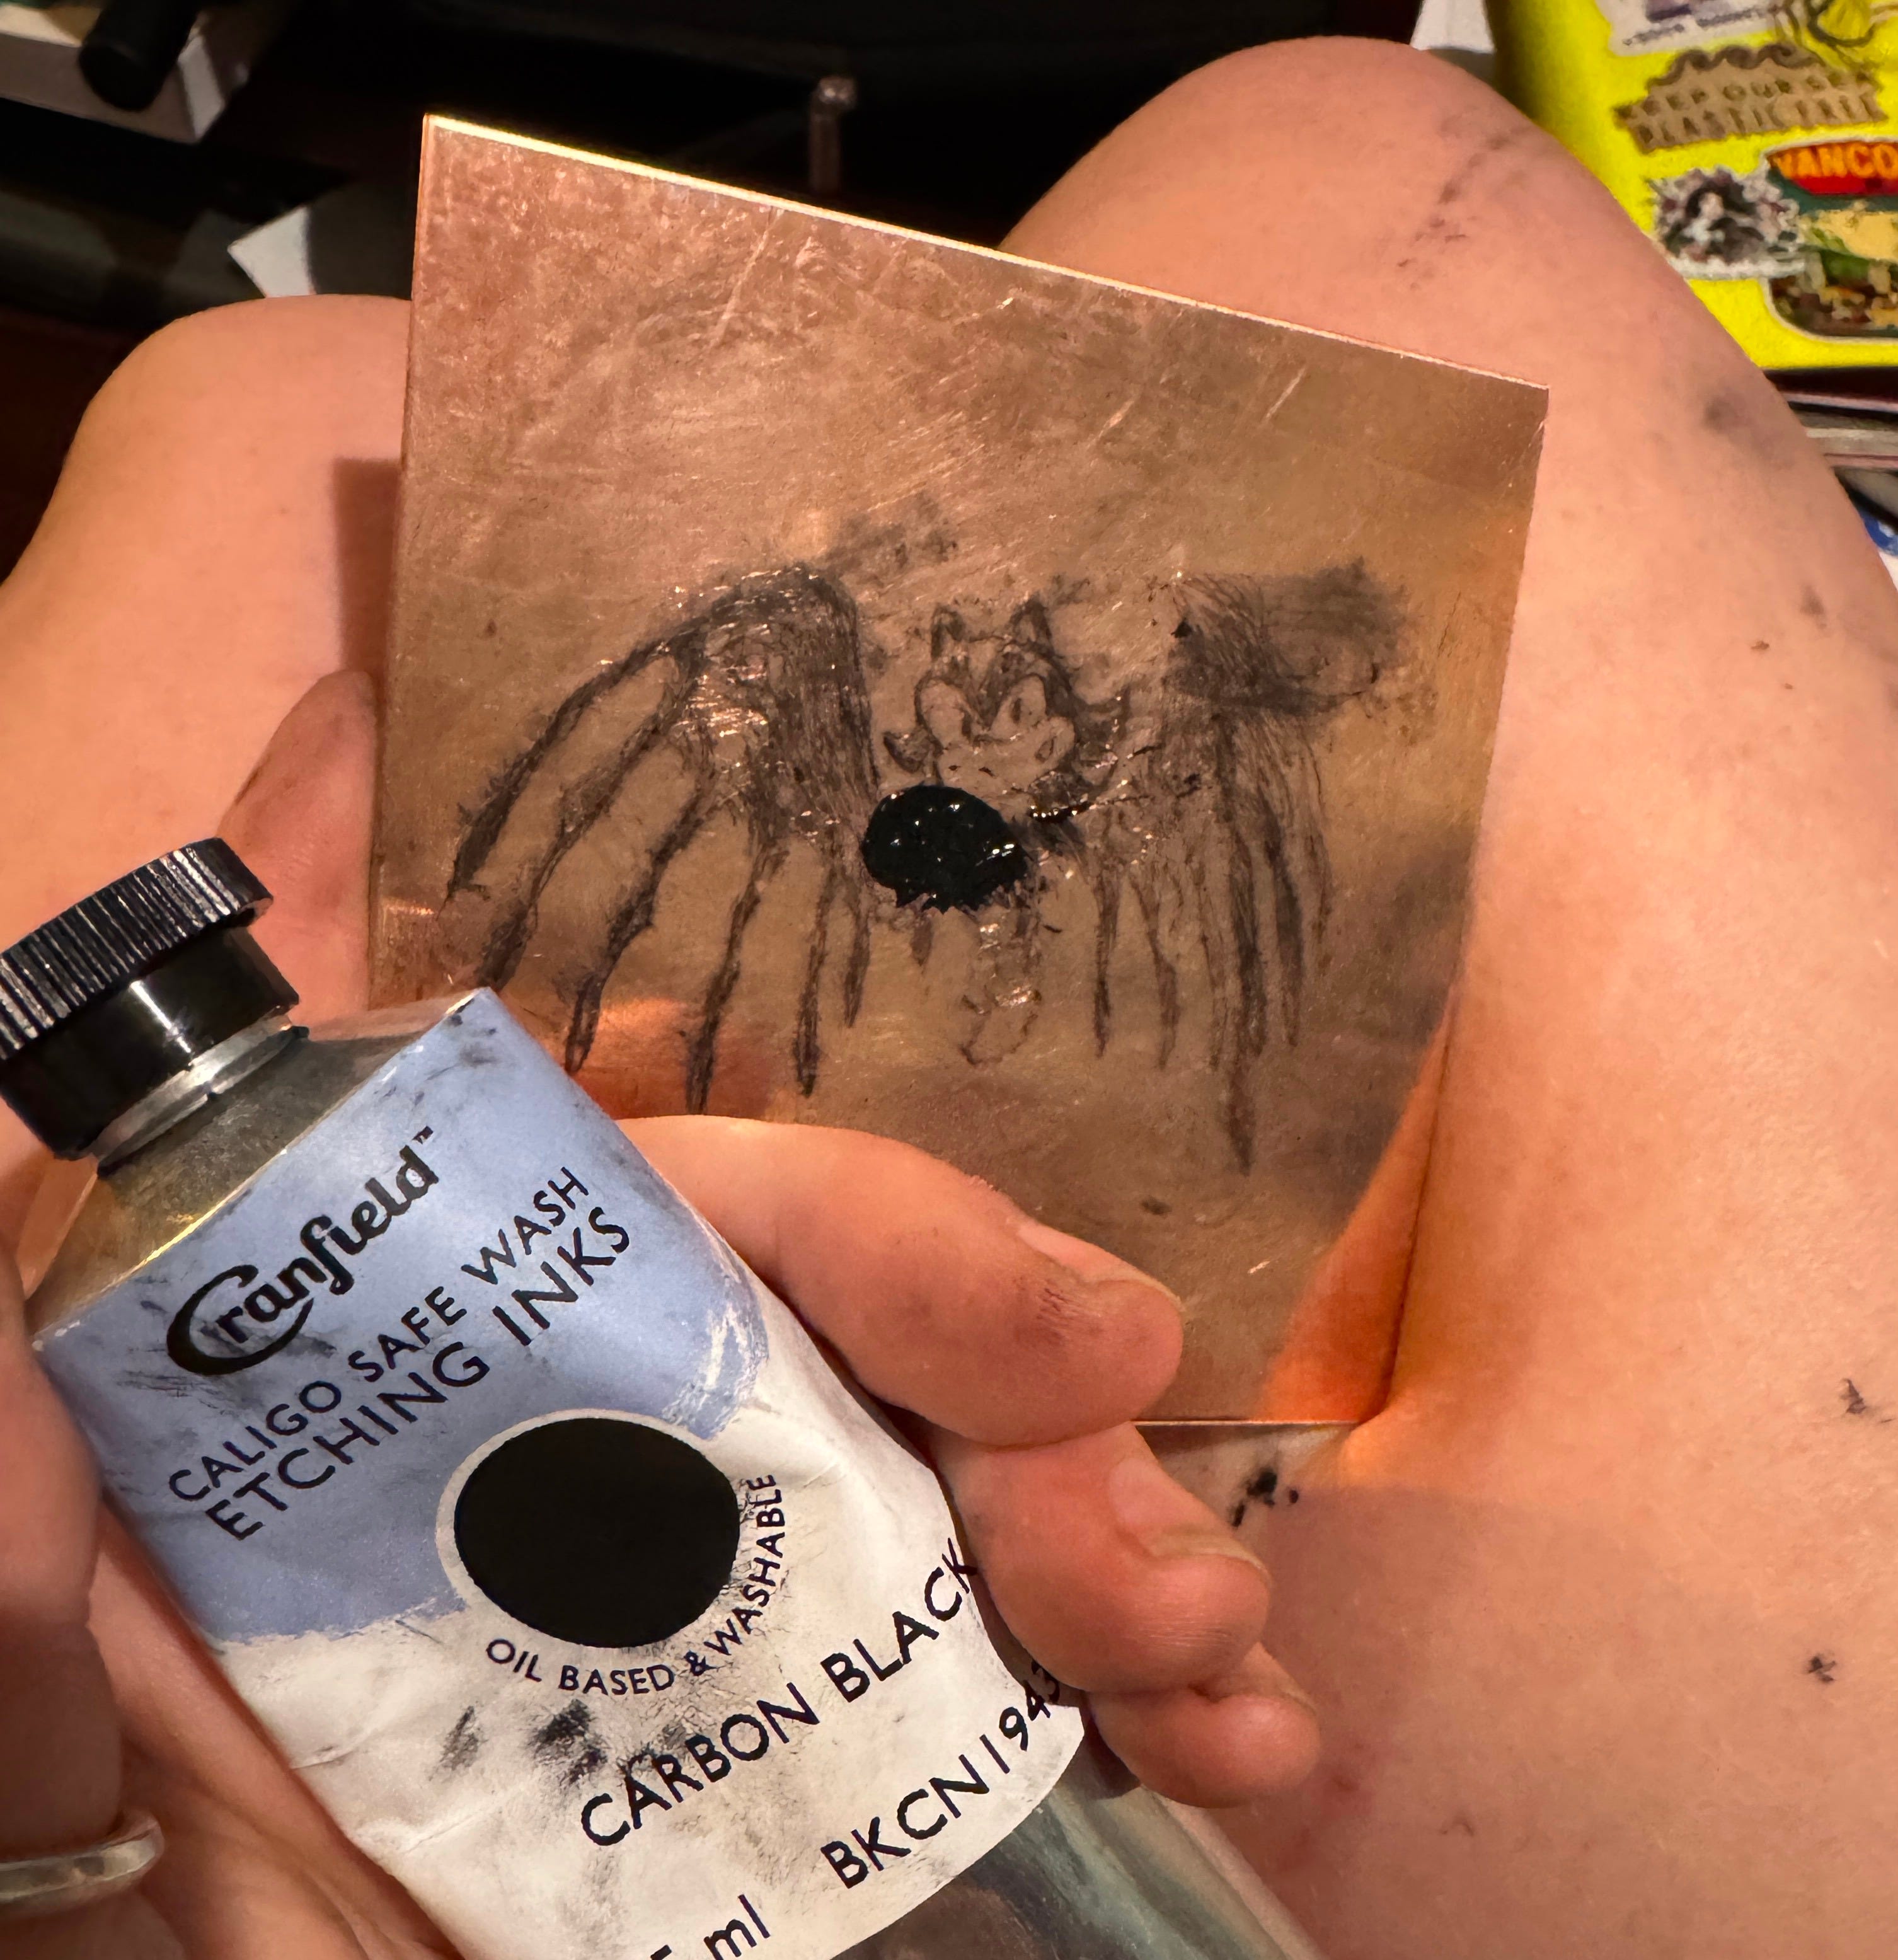
You then take some newspaper or thin paper and scrape off as much as you can, to leave the ink in the scratches you’ve made in your copper.
I must reiterate- it is very messy.
Place a sheet of damp paper on your copper, and put it in your printing sandwich (some soft wool blanket, and some scrap paper)
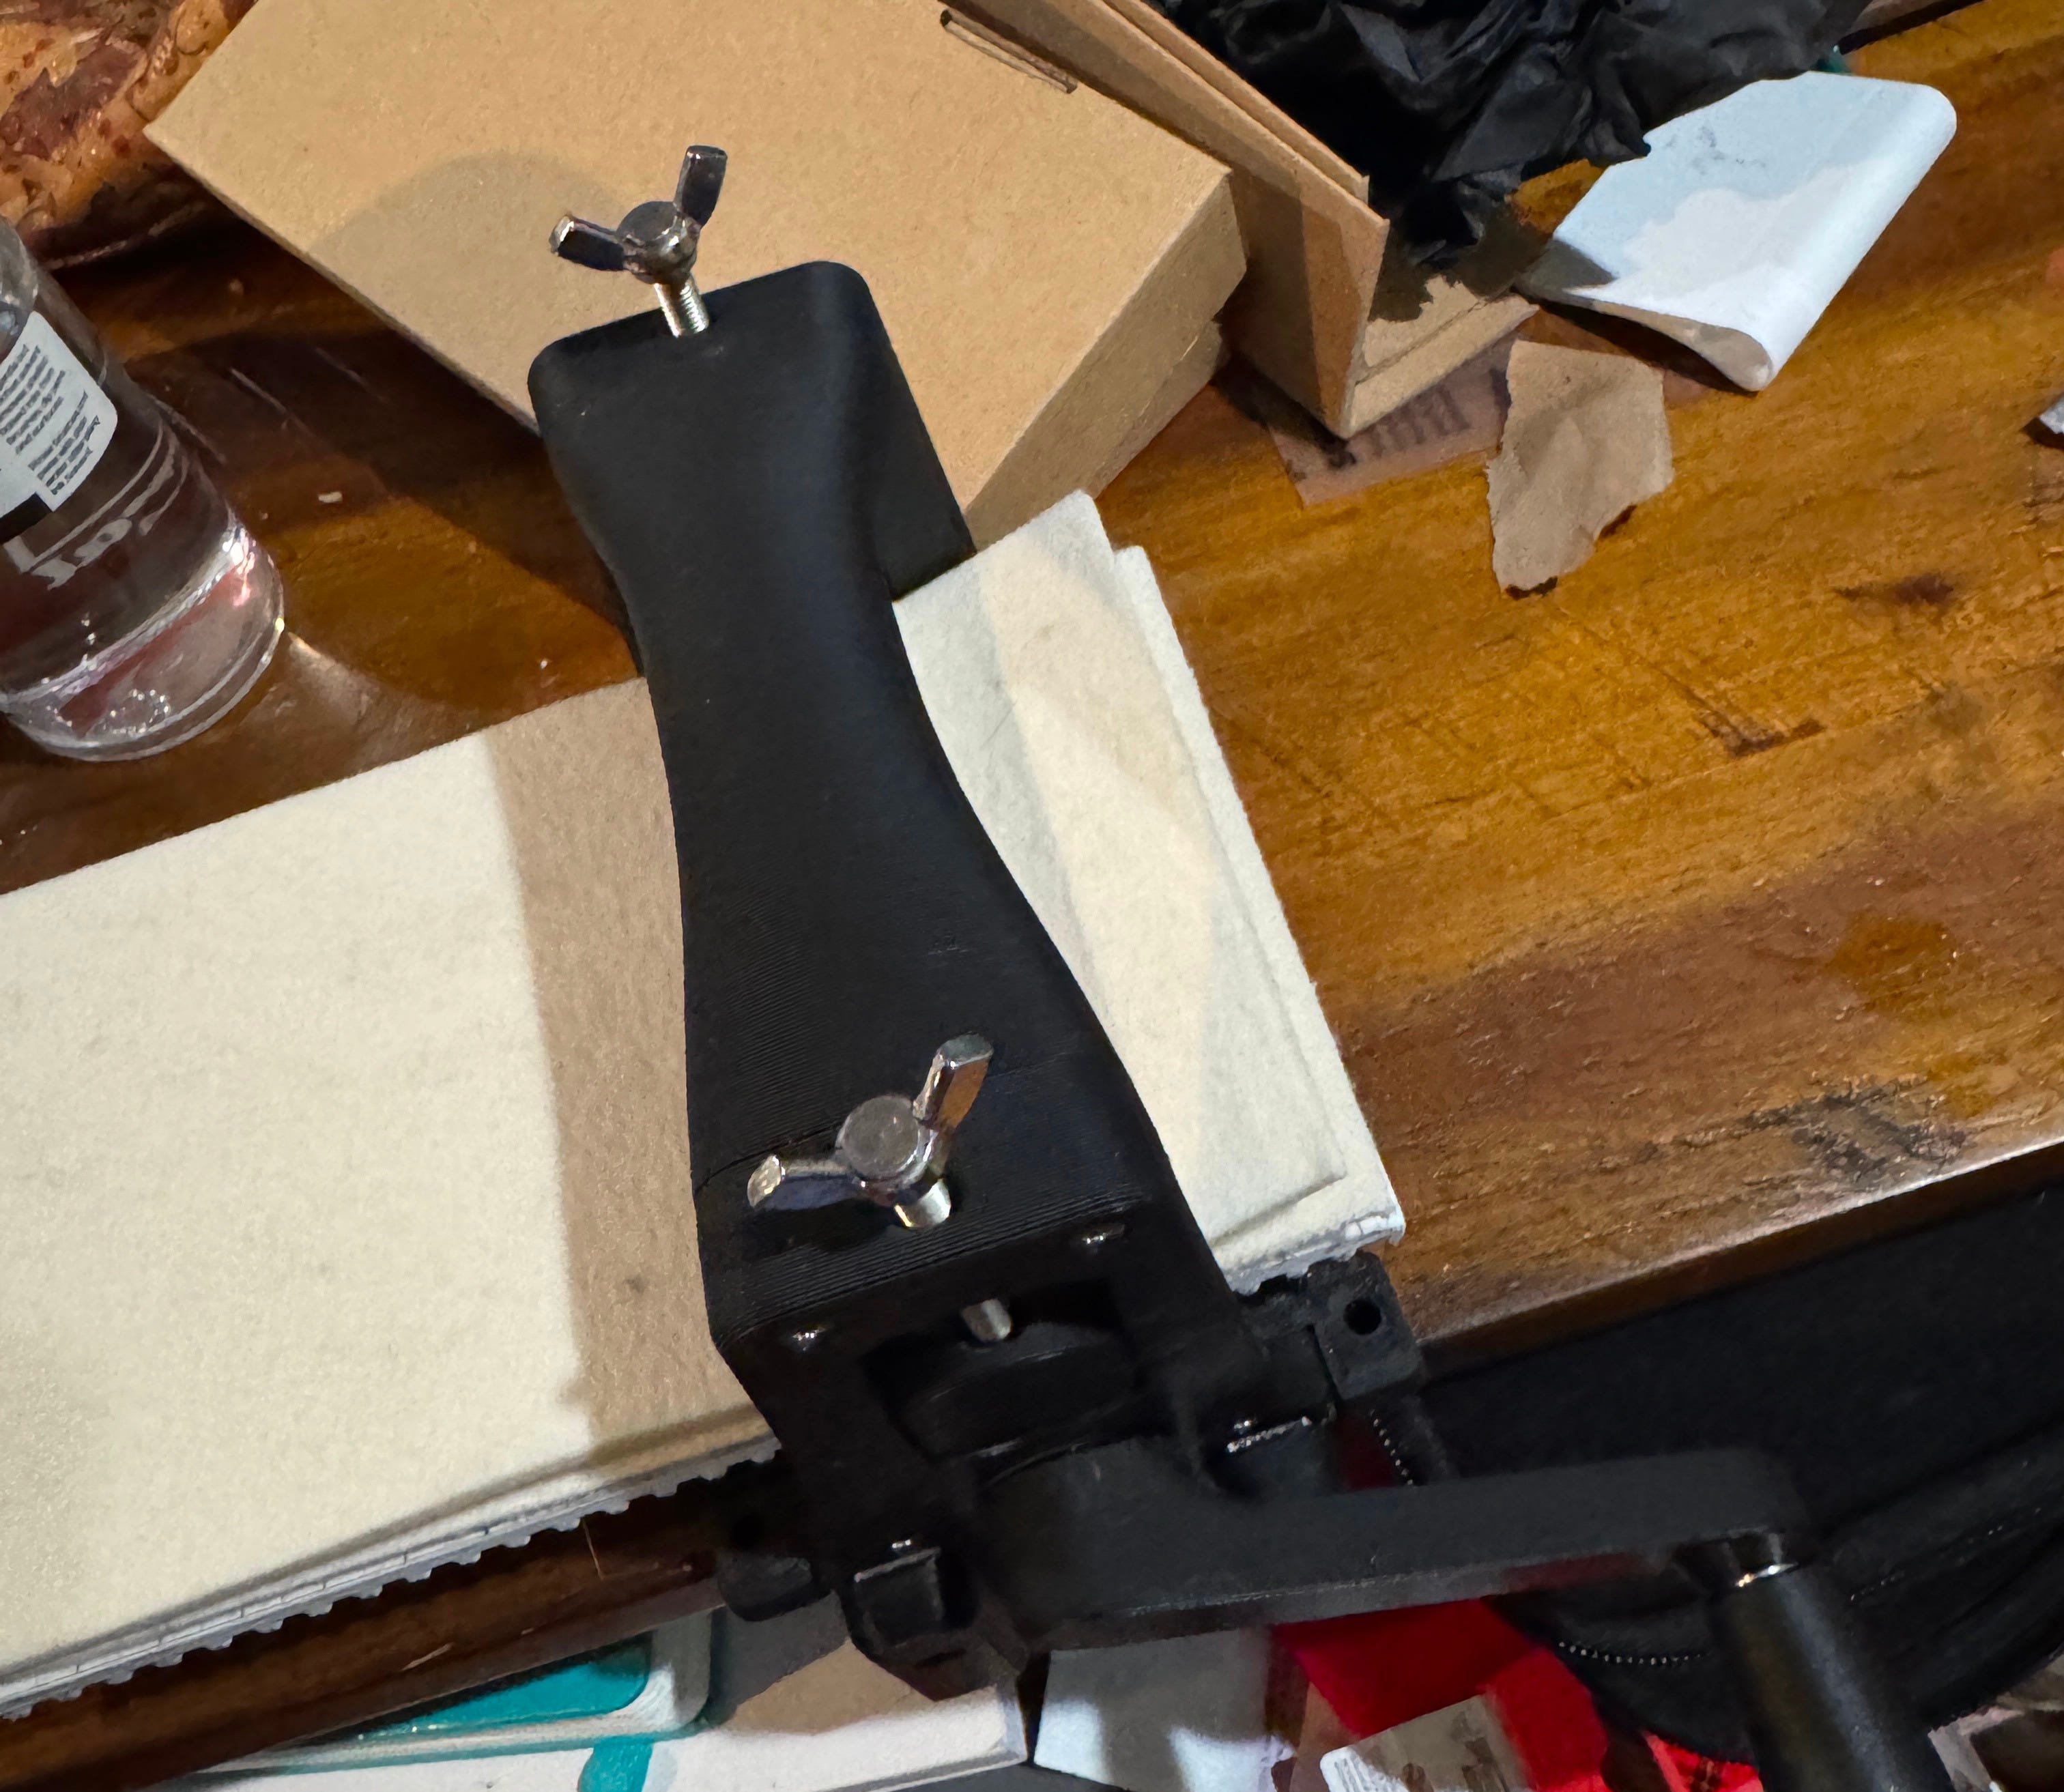
Then you send it through your press!
Fun!!
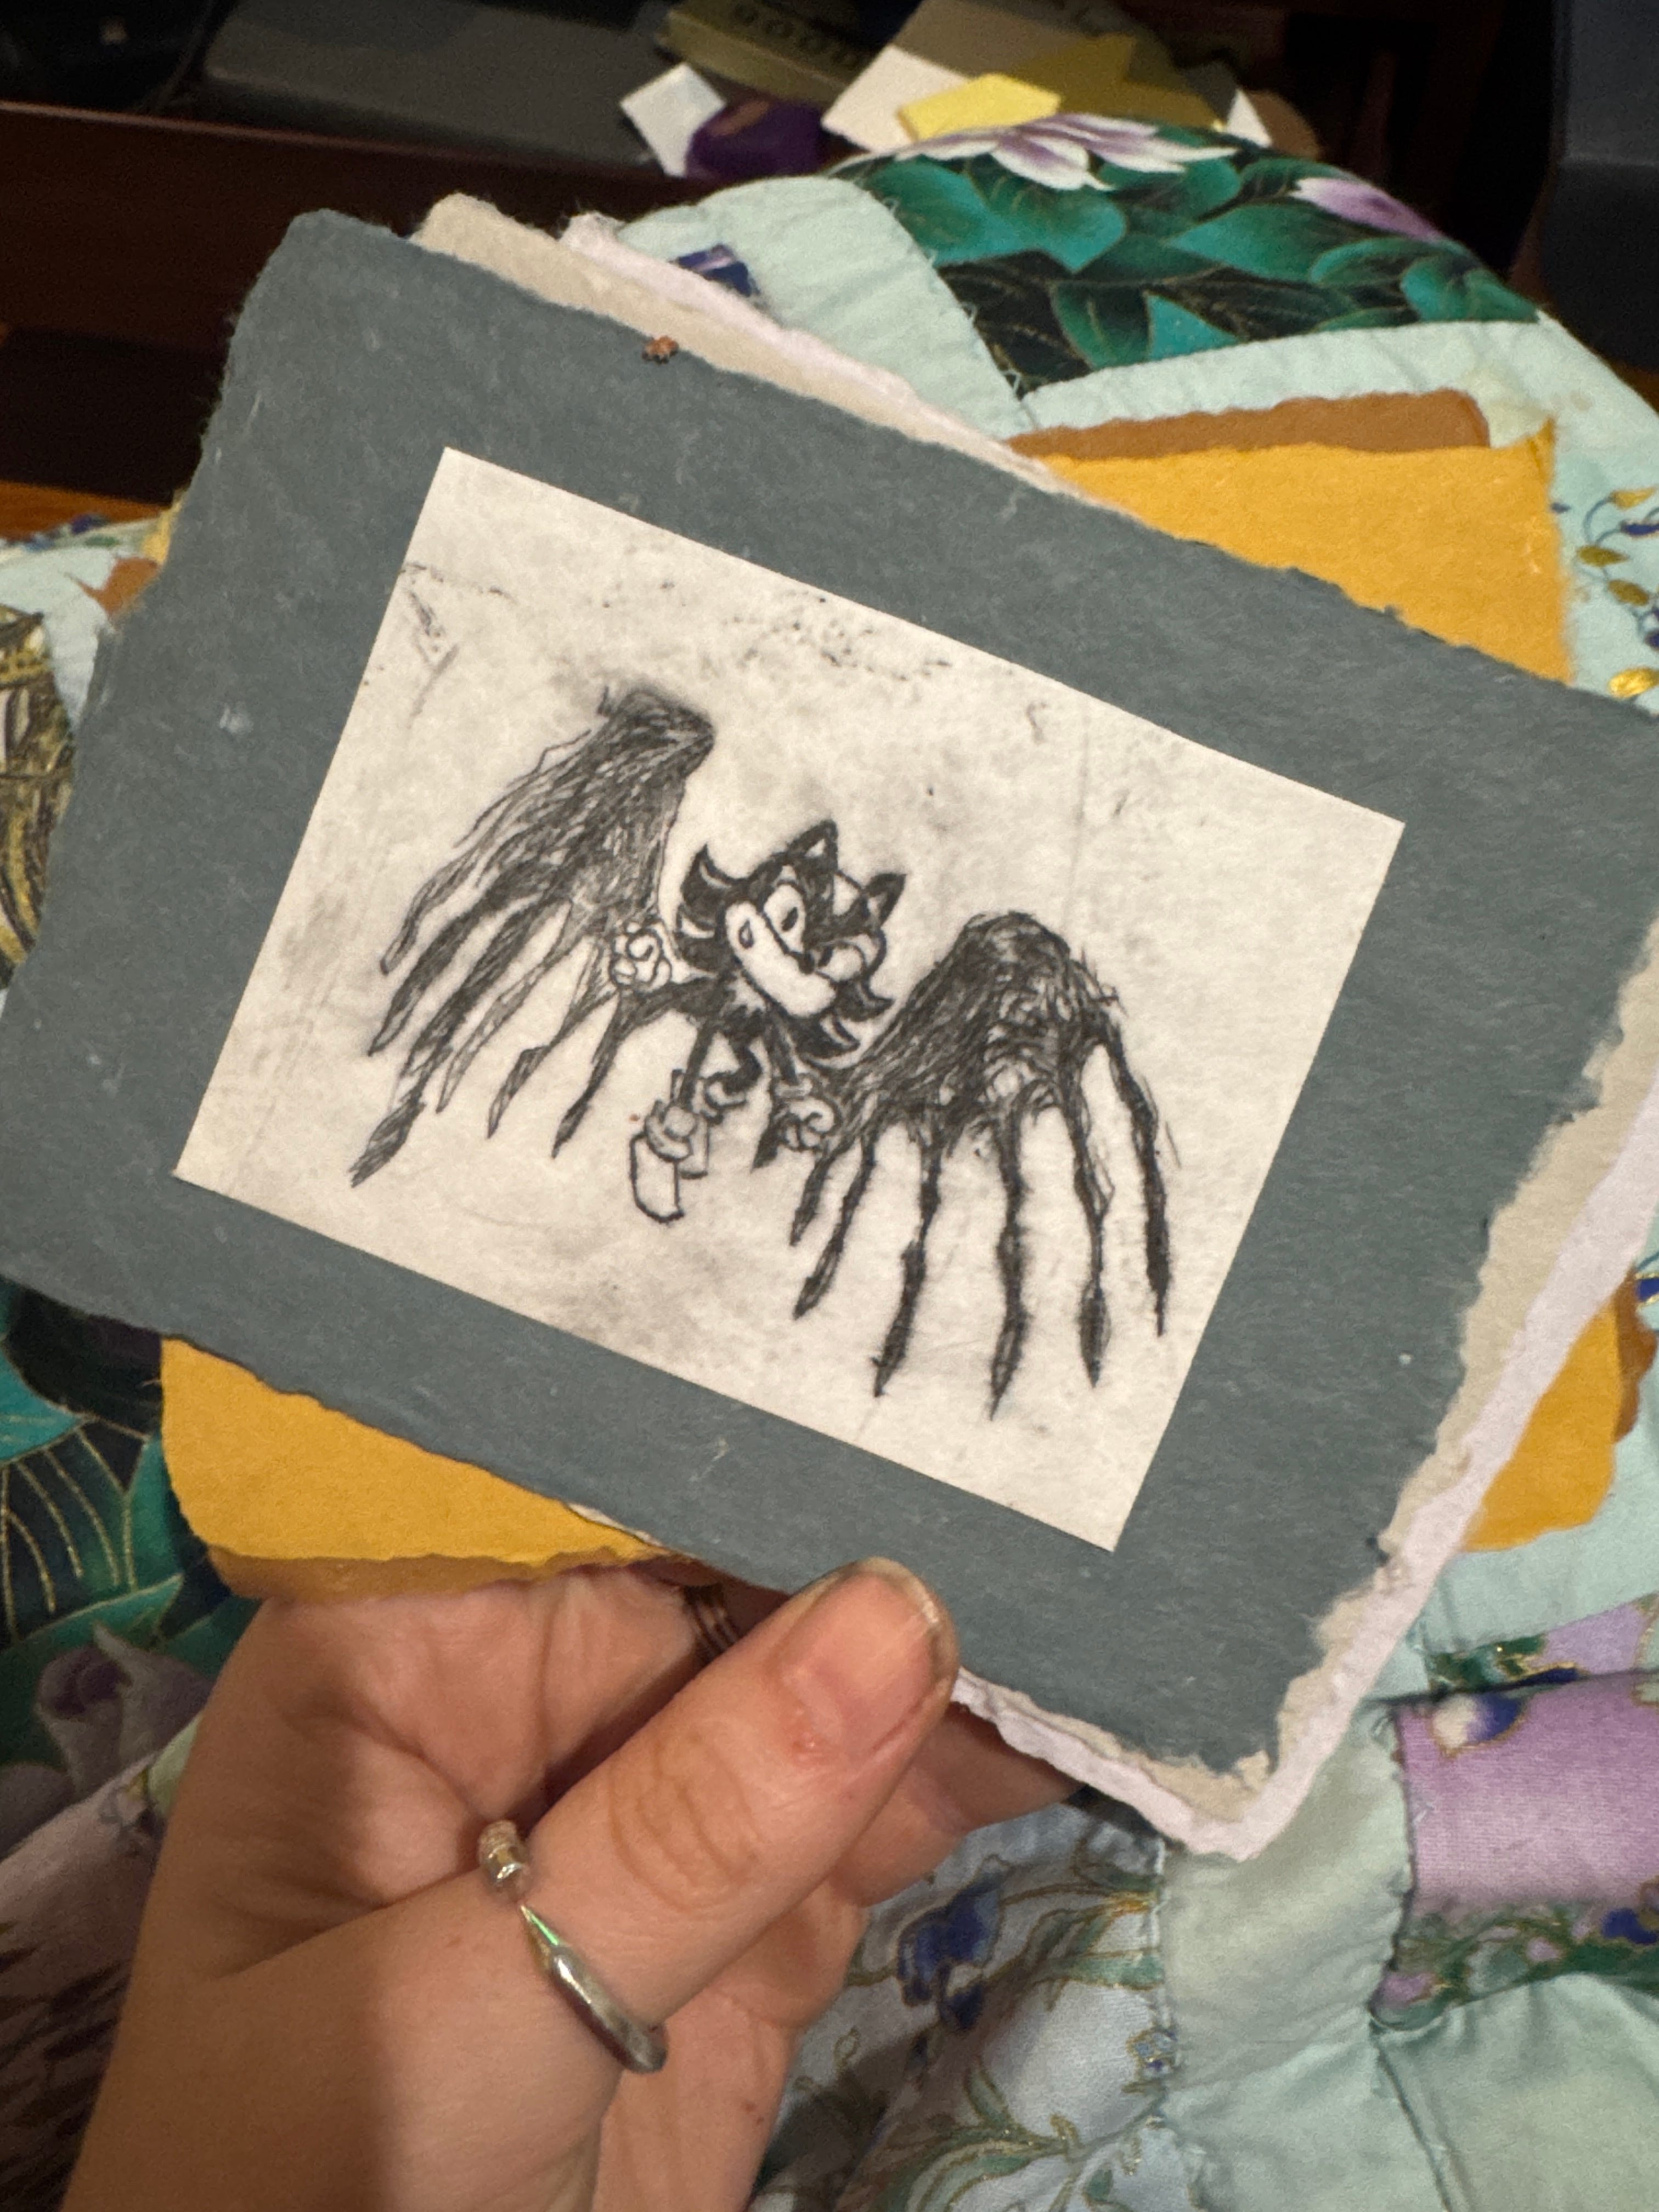
I mounted it on some handmade paper (not by me), to finish it off.
I can’t wait to print more! I actually think a fun project to try next year would be laser cutting some wood, and sending that through the press. I find "block printing” a little easier than etching.
Hope I’ve inspired you to look into the Open Press project- and if you live in LA, you can 3D print loads of stuff at the library!

I mentioned laser cutting a woodblock above- it’s because I discovered this amazing artist doing amazing laser work (including printing!). Martin Tomsky! Check out his work, it’s really intricate and so fun.

ok love u bye
I have been waiting for the small press to come back in stock!
That little press is cool! I would love to see how well it works for relief printing...