


For the Fun of It - how to run a crafternoon
For the Fun of It - how to run a crafternoon
arts, crafts, and lafts.

This weekend marked the triumphant return of Crafternoon!
I used to run these events pretty regularly before the pandemic, but since things have opened back up, it’s taken until now to restart. But wow- I missed them!! And I wanted to share some of my methods on how to run a crafternoon, and hopefully you run your own!

What is a crafternoon? Crafternoon is a type of party where you all gather and work on a craft together. It can have many variations, but for me, it’s usually a weekend afternoon, and a loose craft theme (like embroidery, or printmaking).
I learned about this from my amazingly crafty friend Megan Nairn. I think the first one we did was shrinky dinks. I found out that it was made by a cool lady called Maura Madden, and you can read about her story here! She even wrote a book about how to run them- for her, she had them once a month. For my grown-up schedule, I think 2-3 months is a more realistic option.
Now, in general, I have pretty artsy friends, but I also have a lot of non-art friends who love coming to these! So don’t be afraid of running one if you aren’t a craftsperson by trade. We’re really all little kids in our hearts, and playing with materials (similar to my ugly drawing night) is something that really lights up even the most logical person.
Pick a Theme
The first step is to pick what you’re going to do! I’ve found that it works a little better to pick a theme instead of one particular craft. For example- textile arts (Embroidery, painting shirts, tie dye) or doing different versions of the same thing (like shrinky dinks- make pins OR keychains!)
For one thing, if you are all doing the same thing, getting it “right” seems to start happening in our heads. I recently hosted a kids drawing workshop, and one sweet kid started crying because they didn’t know how to write yet, and they felt like their comic wasn’t a real comic if it didn’t have words. Adults are like that too!! If the person next to them is absolutely FLYING at creating something, it can be intimidating!
It’s a bit easier to have a few stations, where people can pick where their hearts are calling them. Also, some people might just want to sit and draw! That’s cool too.
It’s a little easy for me in that I loooove multimedia, so I always have a bunch of different things I can pull from my studio. For this crafternoon, the theme was printmaking, and we had these options:
Prixel printing
Open Press Etching machine (no one used this cos it was intimidating to etch on copper).
Gelli plate (no one used this cos it was scary-looking).
Prep Time
First, I recommend emailing your invite early (like a month or so), to give people time to gather materials if you need any. For this workshop, I was hoping people would bring cartons for tetrapak printing (and they did!). Also, it gives people time to think about what they might want to make.
Also, it’s good to gauge how many people might come. My crafternoons always end up as craft ragers (because I love when people bring friends!), but maybe yours will be intimate and have a few close friends. If there are less people, its a bit easier to manage the activity, and if there are more, people will have to be more self-directed. Neither is better, just different!
Set-Up
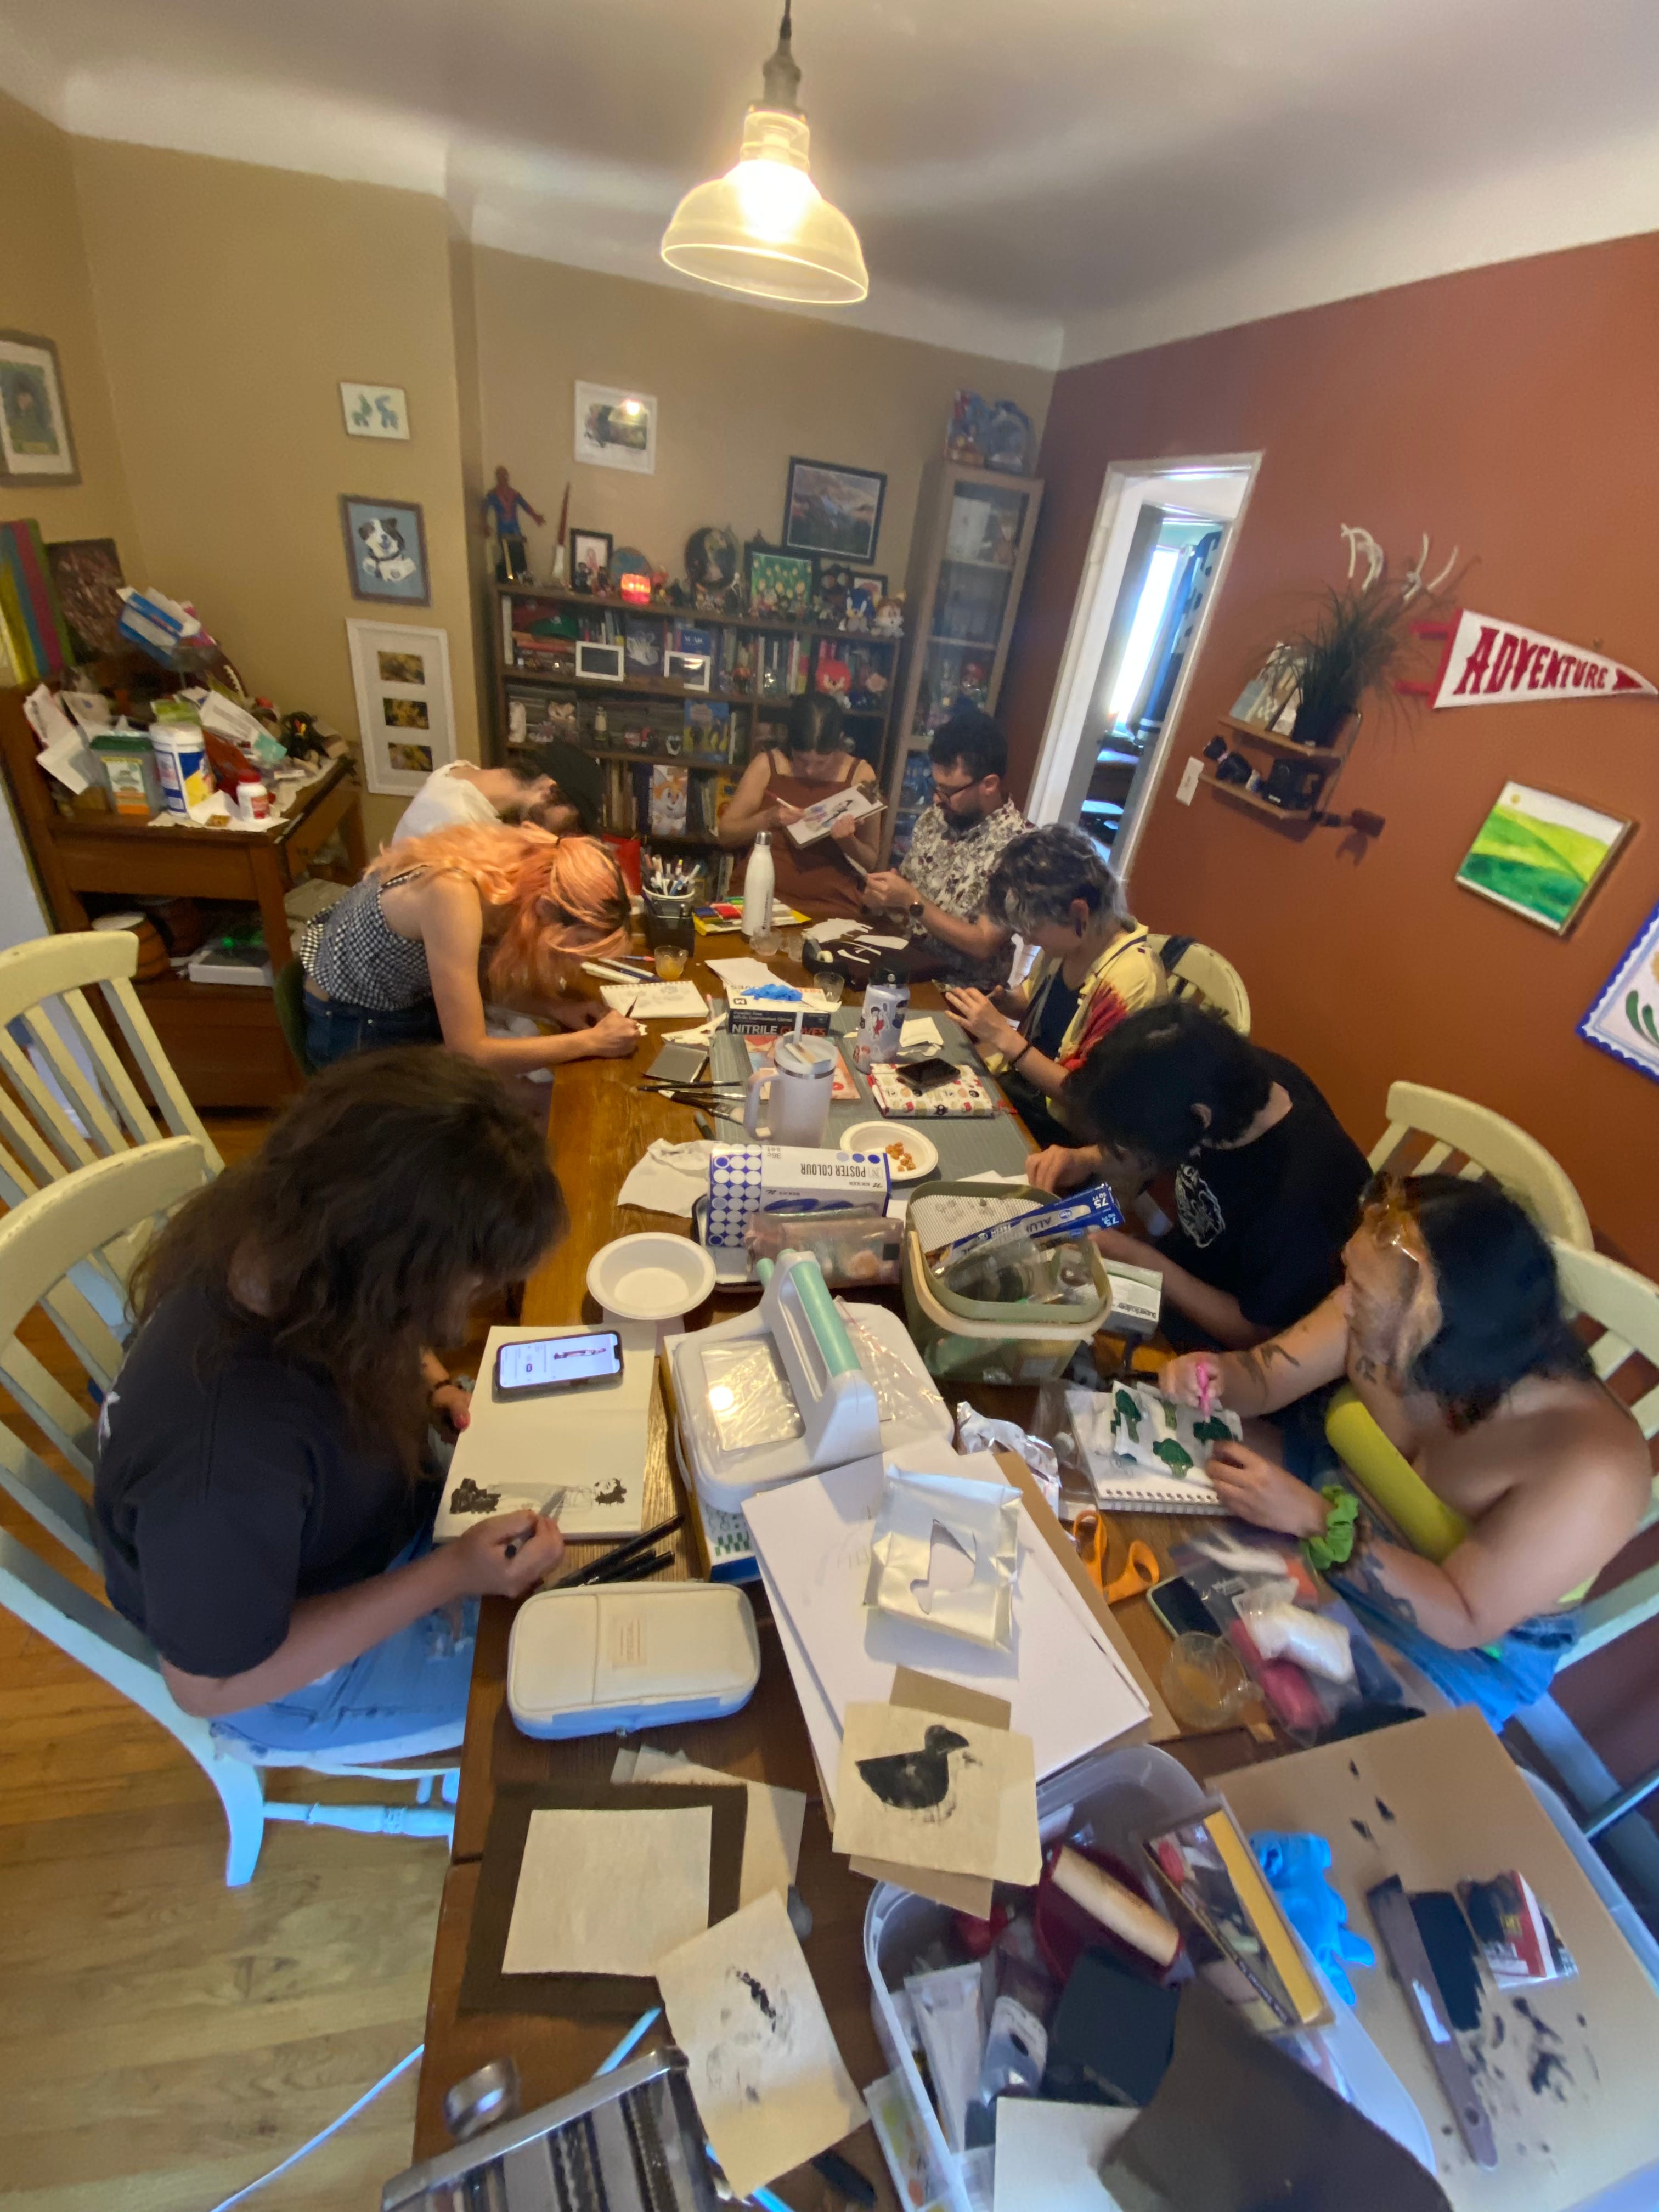
Crafts require TABLE SPACE! Everyone will want a chair and table space usually, so now’s the time to pick your area. Also, I recommend setting up a snack station but in a different area because if it’s on your craft table, someone is gonna knock over chips into the paint.
I also put out printer paper, and my “assorted” pens/pencil jar so that people can sketch out their idea. I recommend not putting out too fancy type pens or pencils, people get spooked and are afraid to use up your good stuff. Messy and rough means people will be empowered to try! I tried to keep each type of activity in one area (like the etching in one area, the prixel on another chair). That way everything is within easy reach.
When people come in, you can explain the different stations, and they can pick!
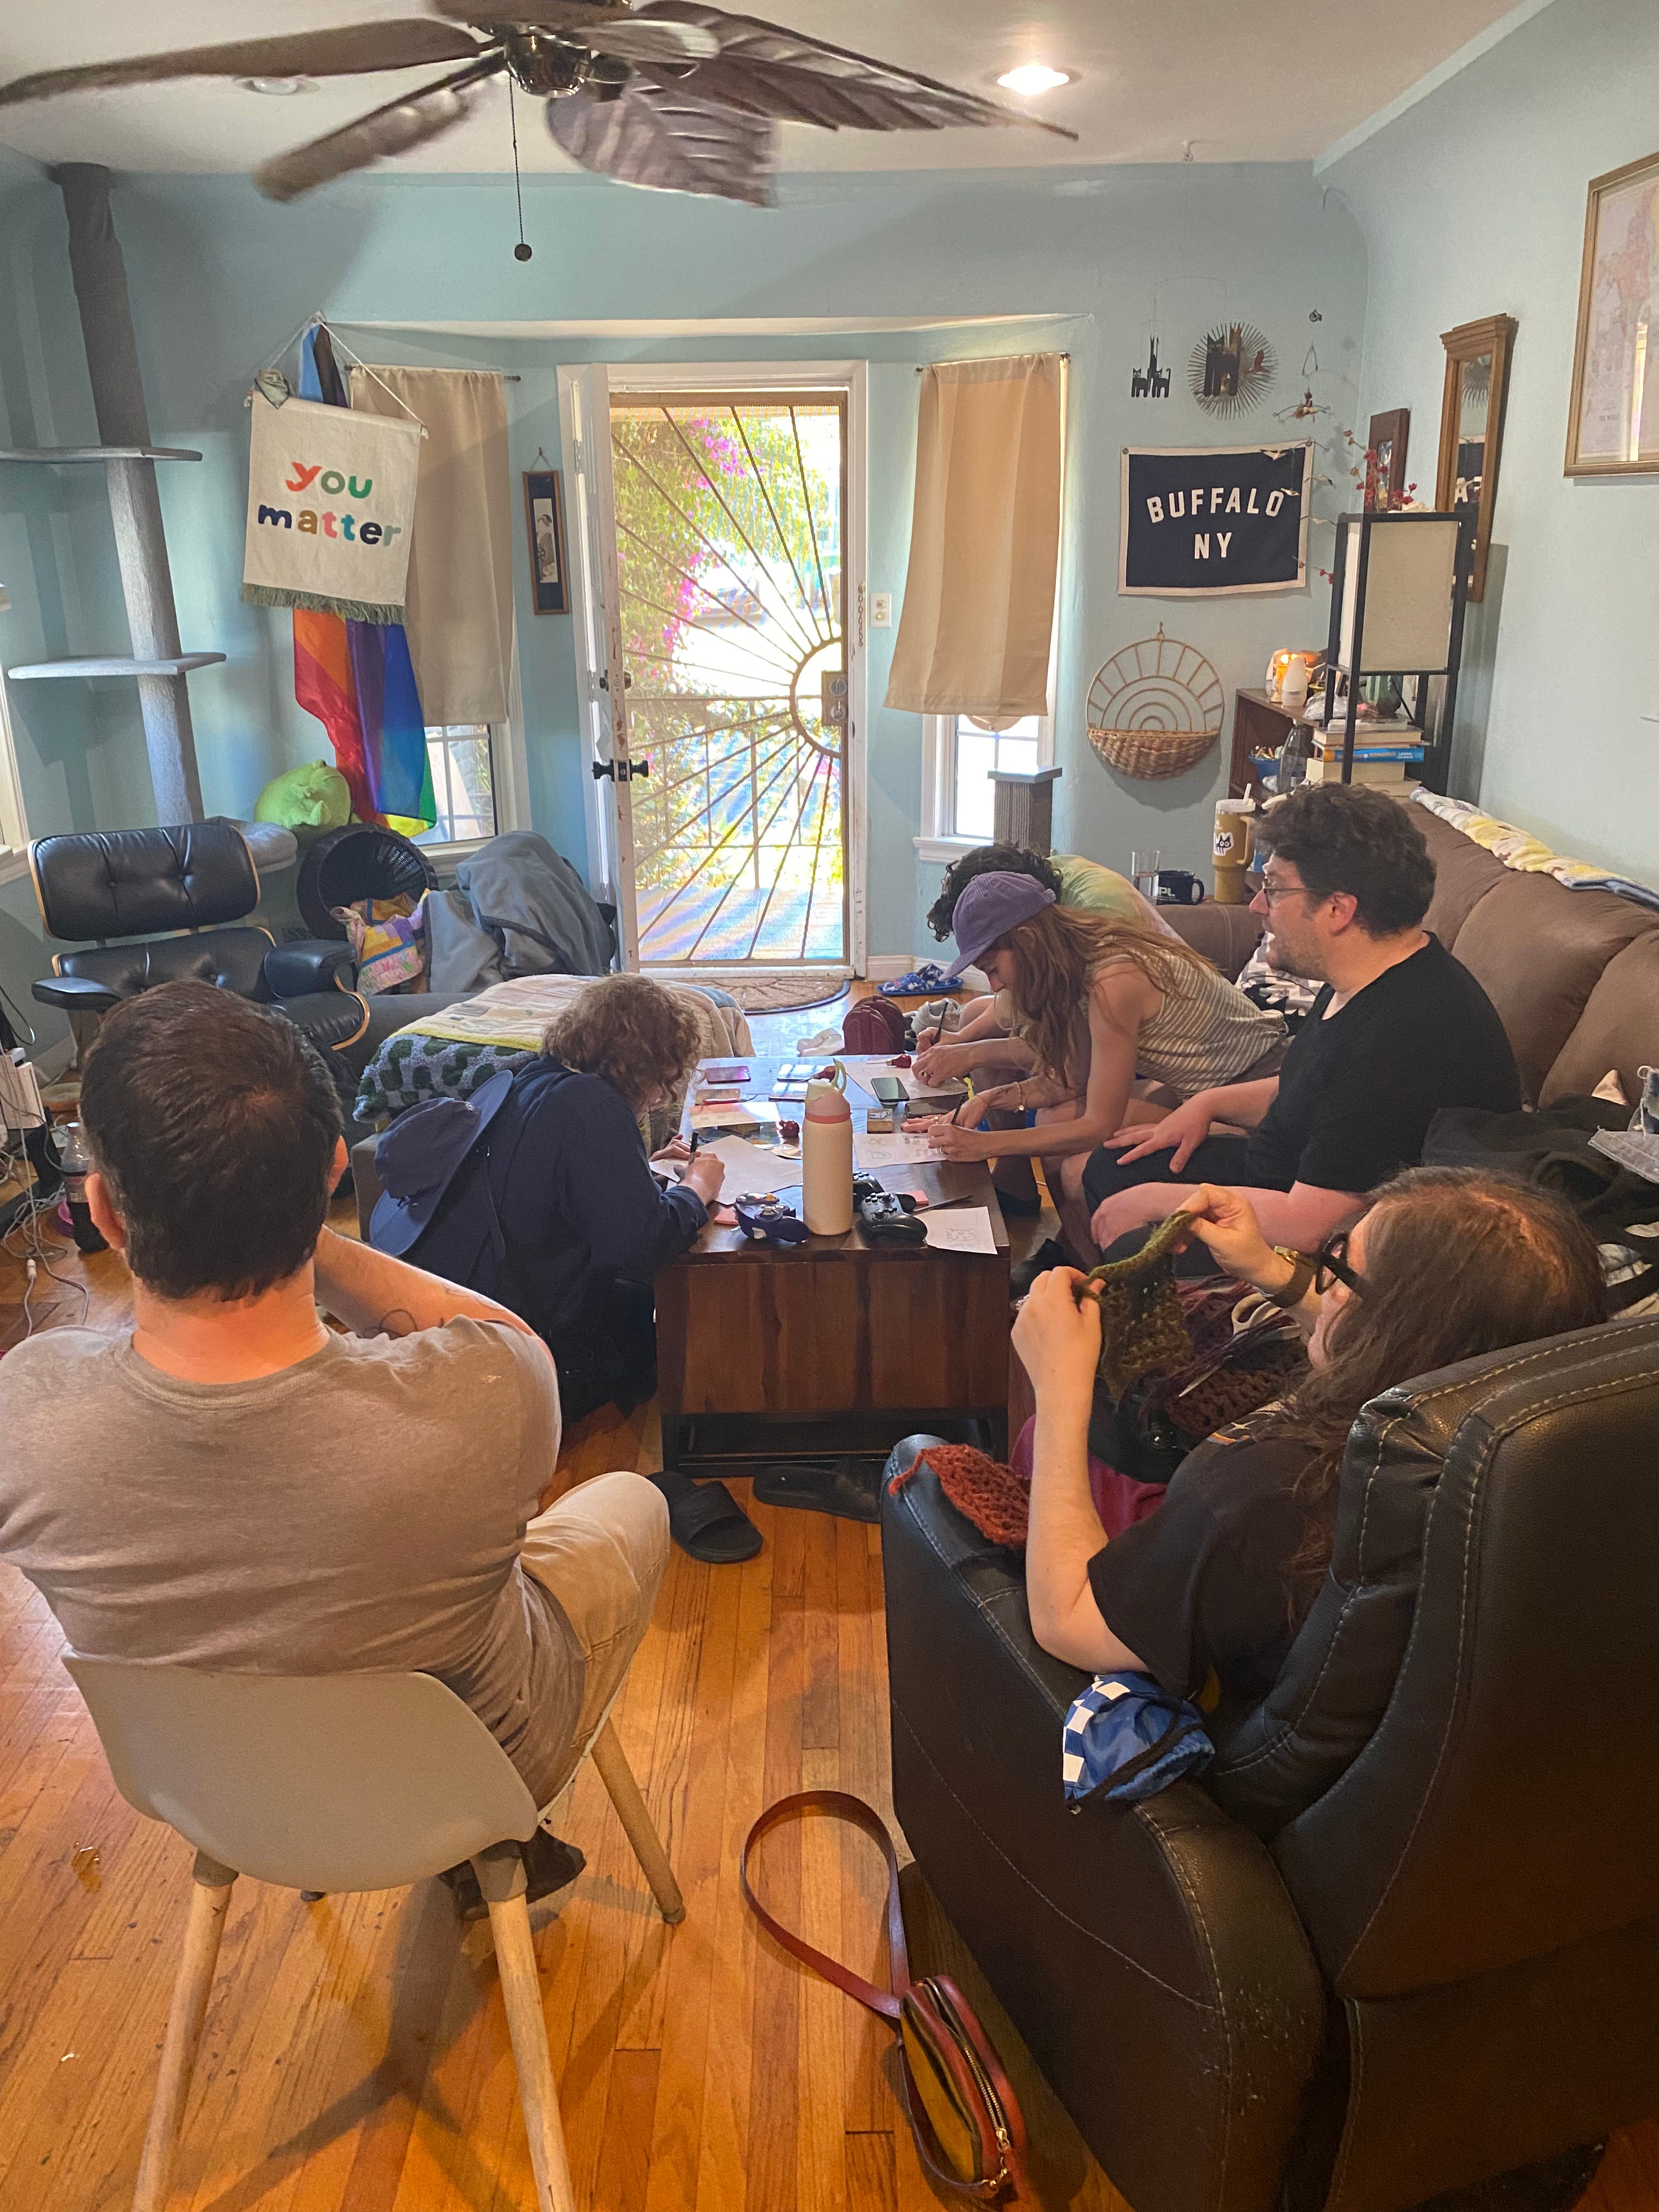
Go Wild
Once crafternoon is underway, things get EXCITING! I will say, hosting usually means you aren’t doing as much crafting, so if that bothers you, I’d recommend swapping hosting duties with another friend from time to time. Maybe it’s the workshop leader in me, but I love wandering around and helping troubleshoot crafts and seeing what everyone is making. Here I am explaining how to rub etching ink into a tetrapak.

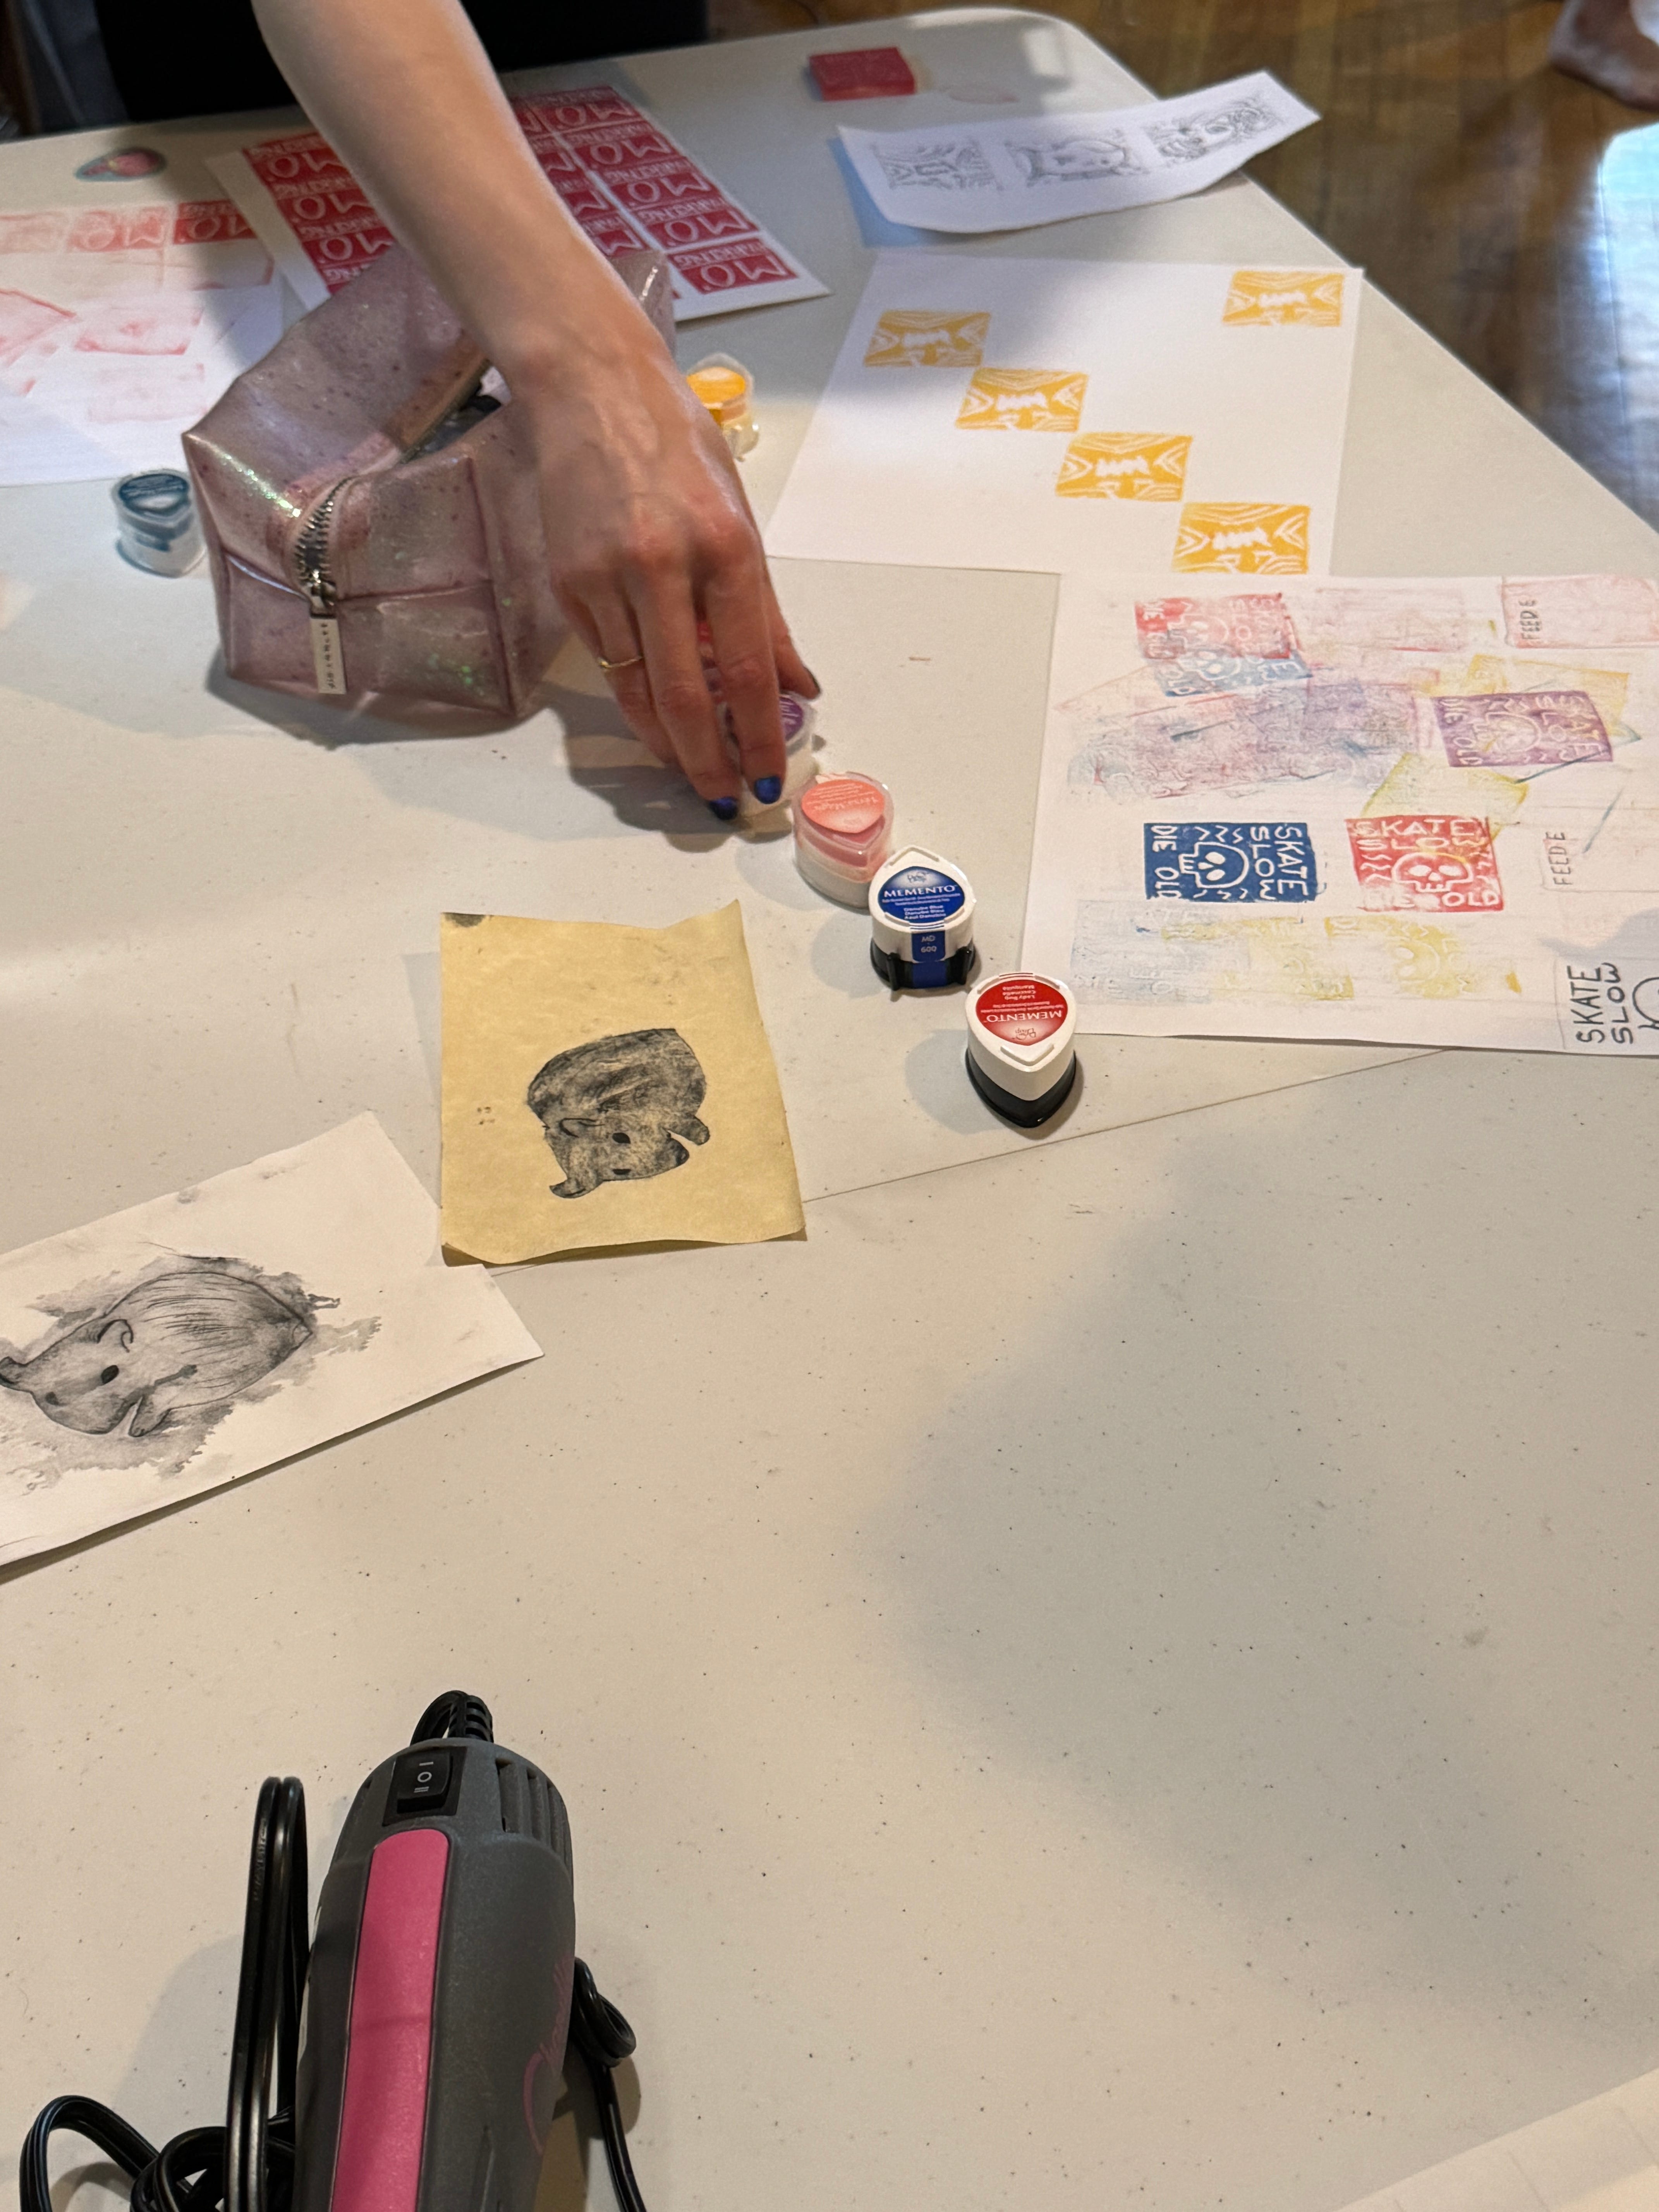
This is my friend Emily Jira’s hamster etching. It’s so gorgeous!
Be Flexible
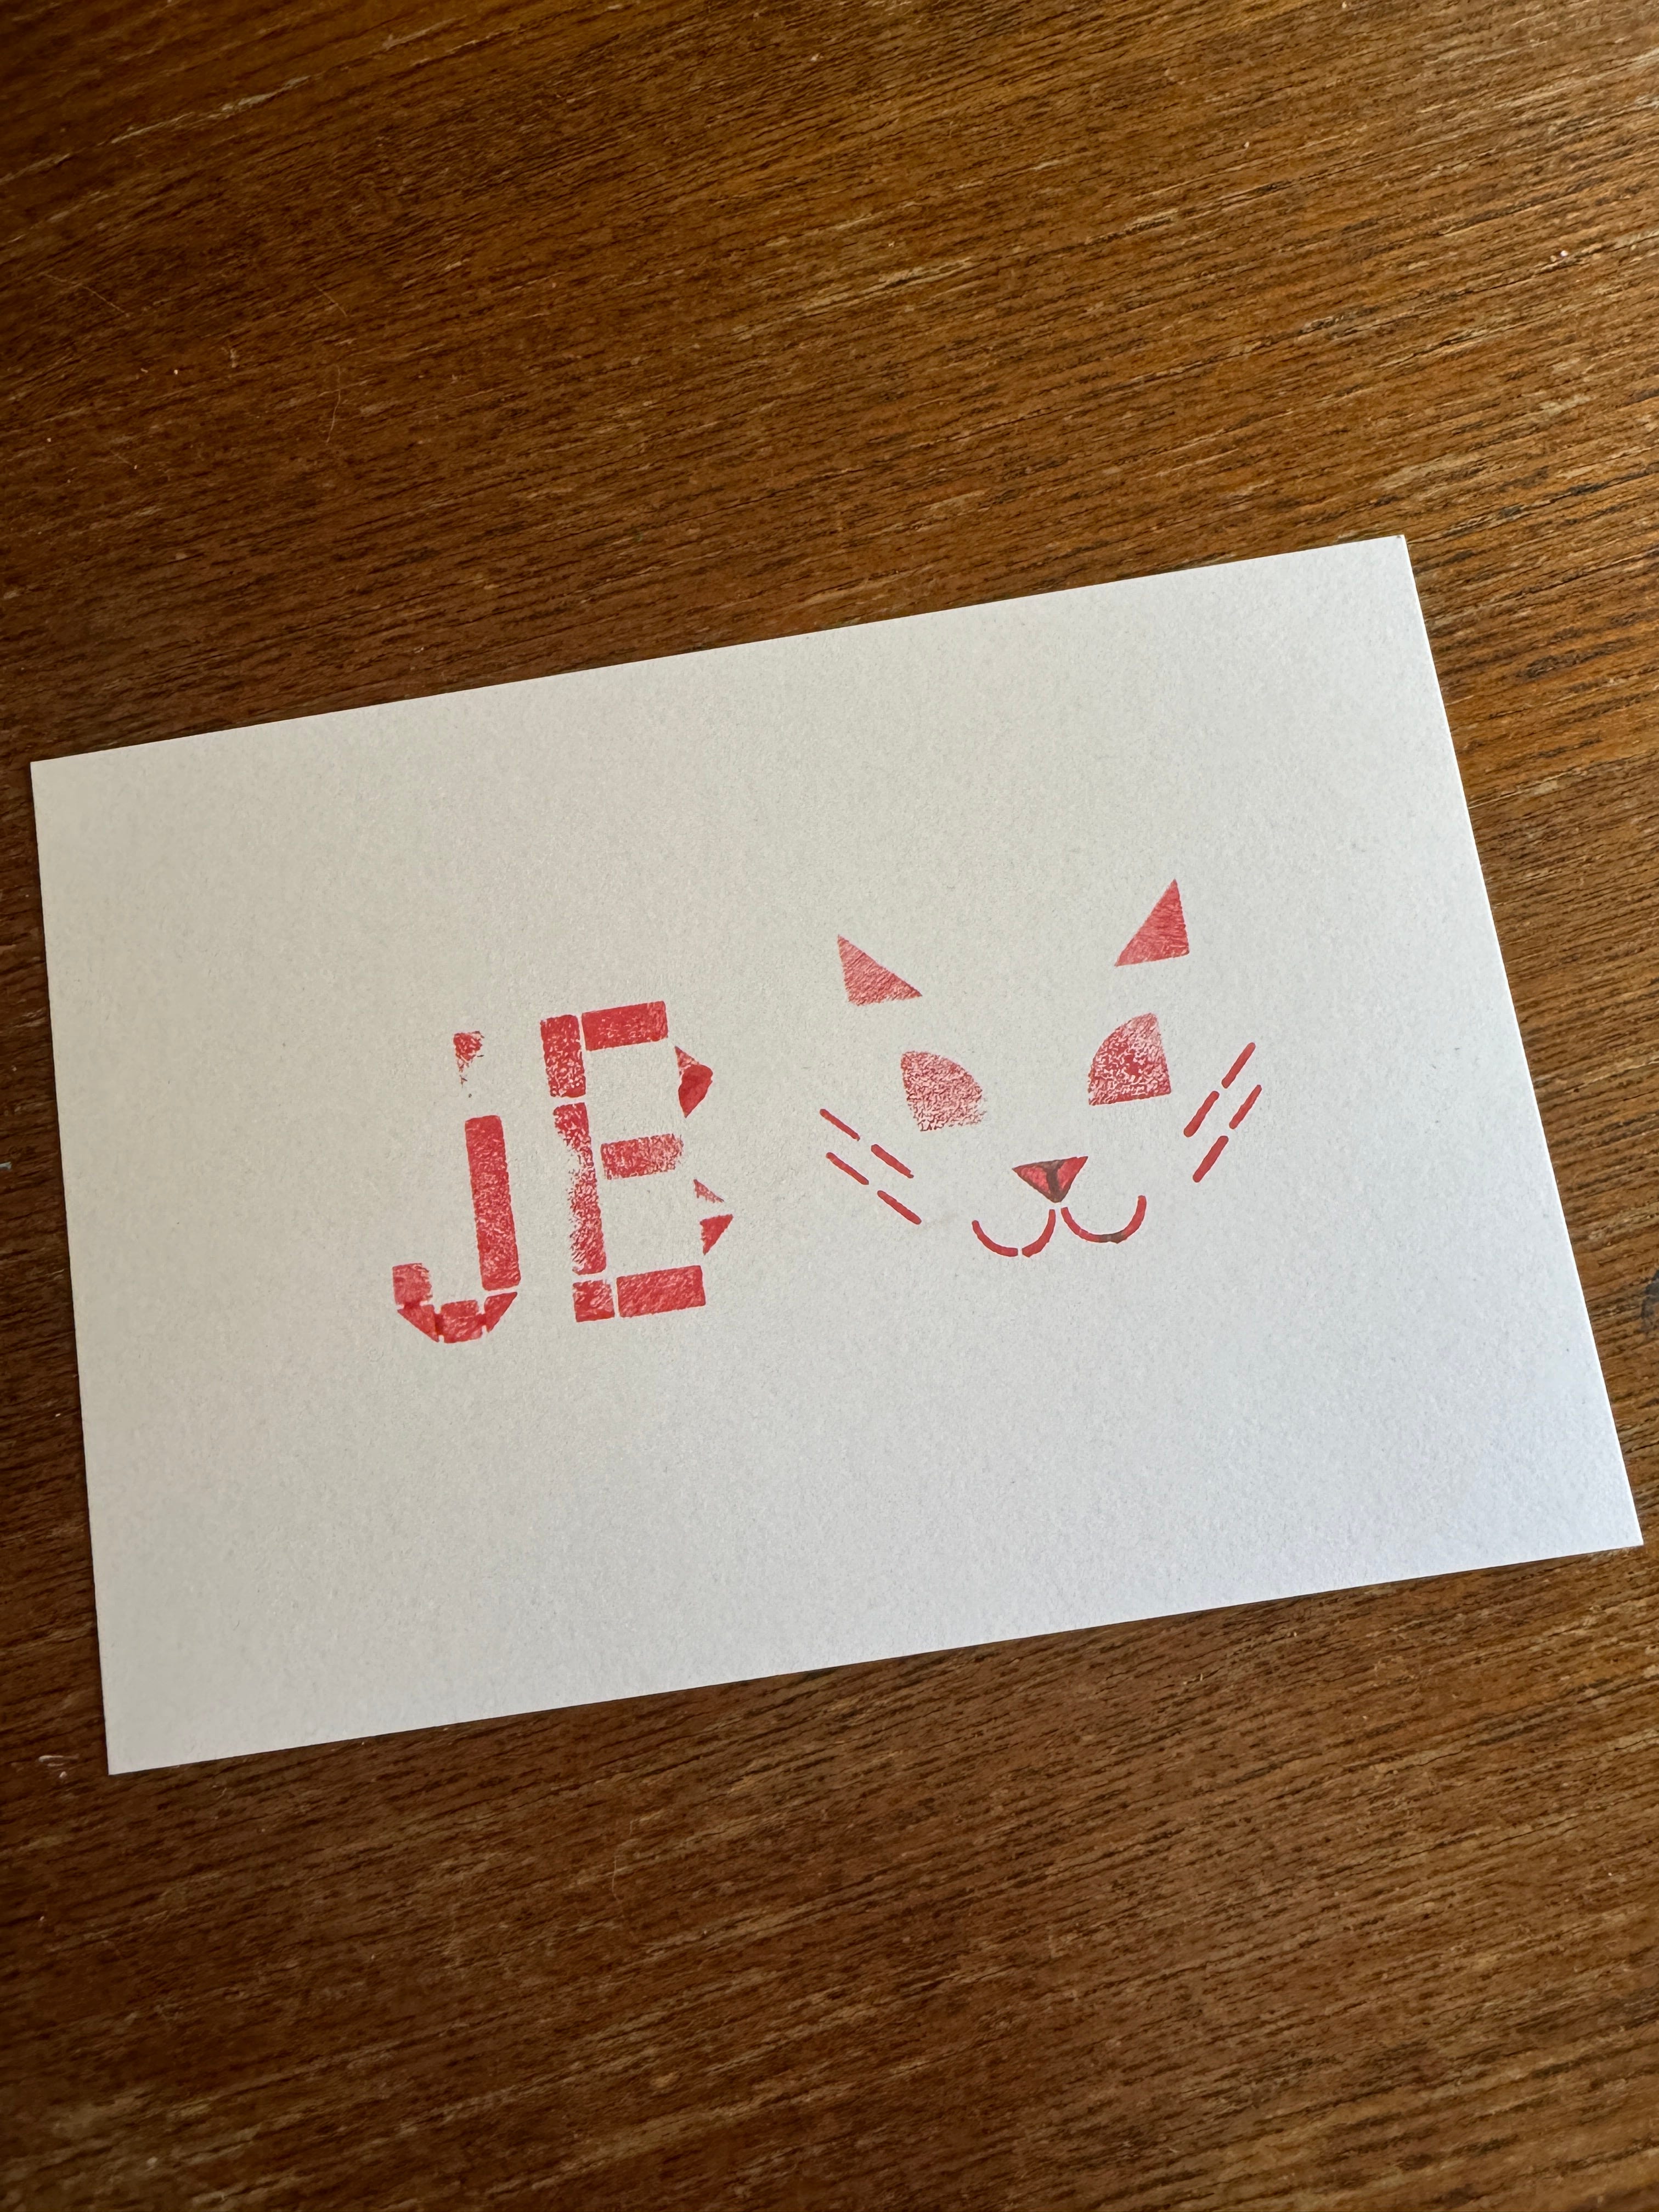
One benefit to doing a “theme” of activities as opposed to one particular activity is that it gives room for spontaneity and exploration. I was surprised at how many people wanted to try lino cutting, and once I saw some stampes, I pulled out some sticker sheets and laminating paper so they could turn their stamps into stickers! I have a DIY sticker guide here, and it literally works just the same for DIY linocut stamps!!!
What’s really cool about arts and crafts is that everyone is different. Some people’s brains might take more easily to relief printing (like lino cut), where you remove to create blank space, and some people might more easily understand etching, where you remove to create line. Some people are more symmetrical, pattern-focused, and some are chaos and creativity. This goes for artists AND non-artists- craft seems to bring out your innate way of doing things.
Admire & Swap
When the dust has settled, it’s great to be able to go around and see what everyone has made. Sometimes, the type of craft you make means people can swap (stickers for stickers!).
This crafternoon, I learned more etching techniques (particularly loading up a plate, and how much ink can affect the print), and the lino-cut stickers!
I also learned how much I missed this activity- I can’t wait to run it again. I’m going to pick up some more folding tables and chairs though! The next one will be bedazzling and fabric arts.
I hope you run a crafternoon in the future. Or if you’re in LA, come on by to one of mine! We’re always trying something new.

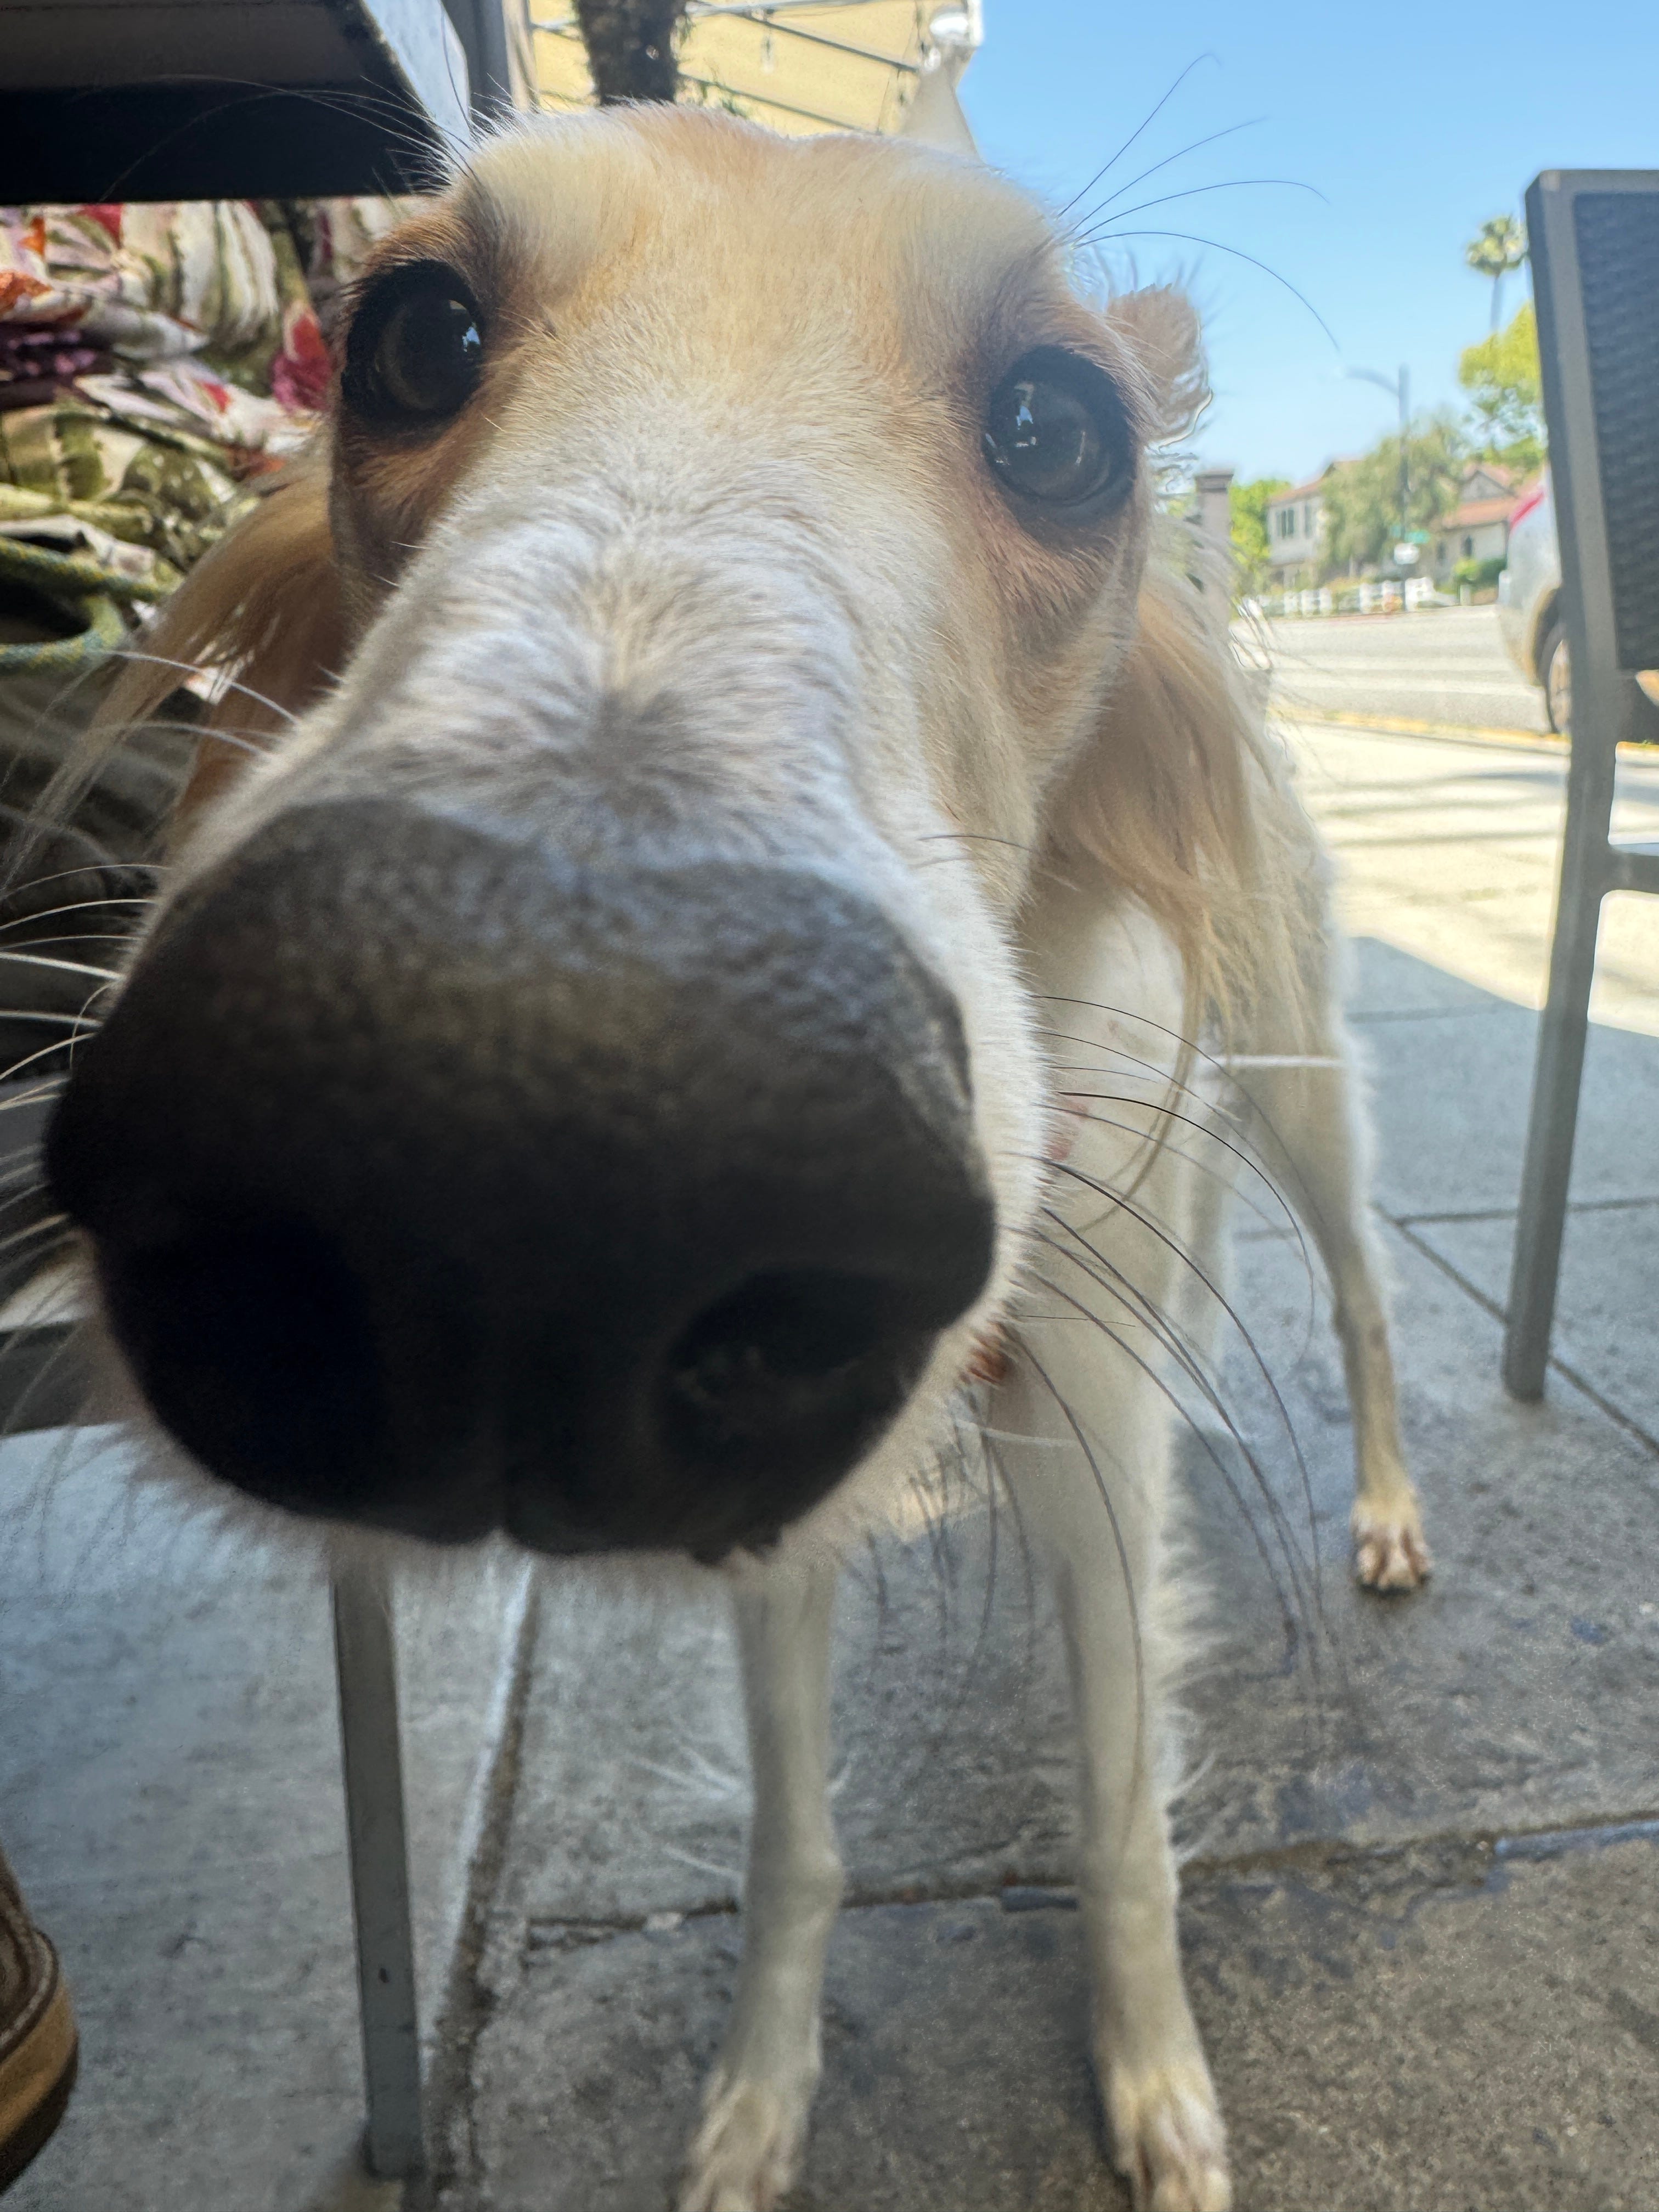
I met friend Roan Everly’s dog last week, a silken wolfhound, and will be thinking about it’s fairy-like form for a while.

When I posted last week, my dear friend Chey messaged me and said “I loved your column, but why were their sad faces on the failure? Failure is great!”, and I whole-heartedly agree!!! Especially after crafternoon, it’s important to remember that failure is part of any creative process. Failure means you’re learning, growing, and discovering. Failure is FREAKING COOL!!! So I’ve changed my little sad dudes in the title above to happy guys. They’re excited to fail, and you should be too :).
ok love u bye
A friend of mine recently posted about making charms out of shrinky dinks to trade at an event, and now your post is tempting me to get some people together to do just that. What a fun idea to inspire creativitiy! I gotta try and block a day out for something like this
Rainy days begone,
Crafternoons are ON!